
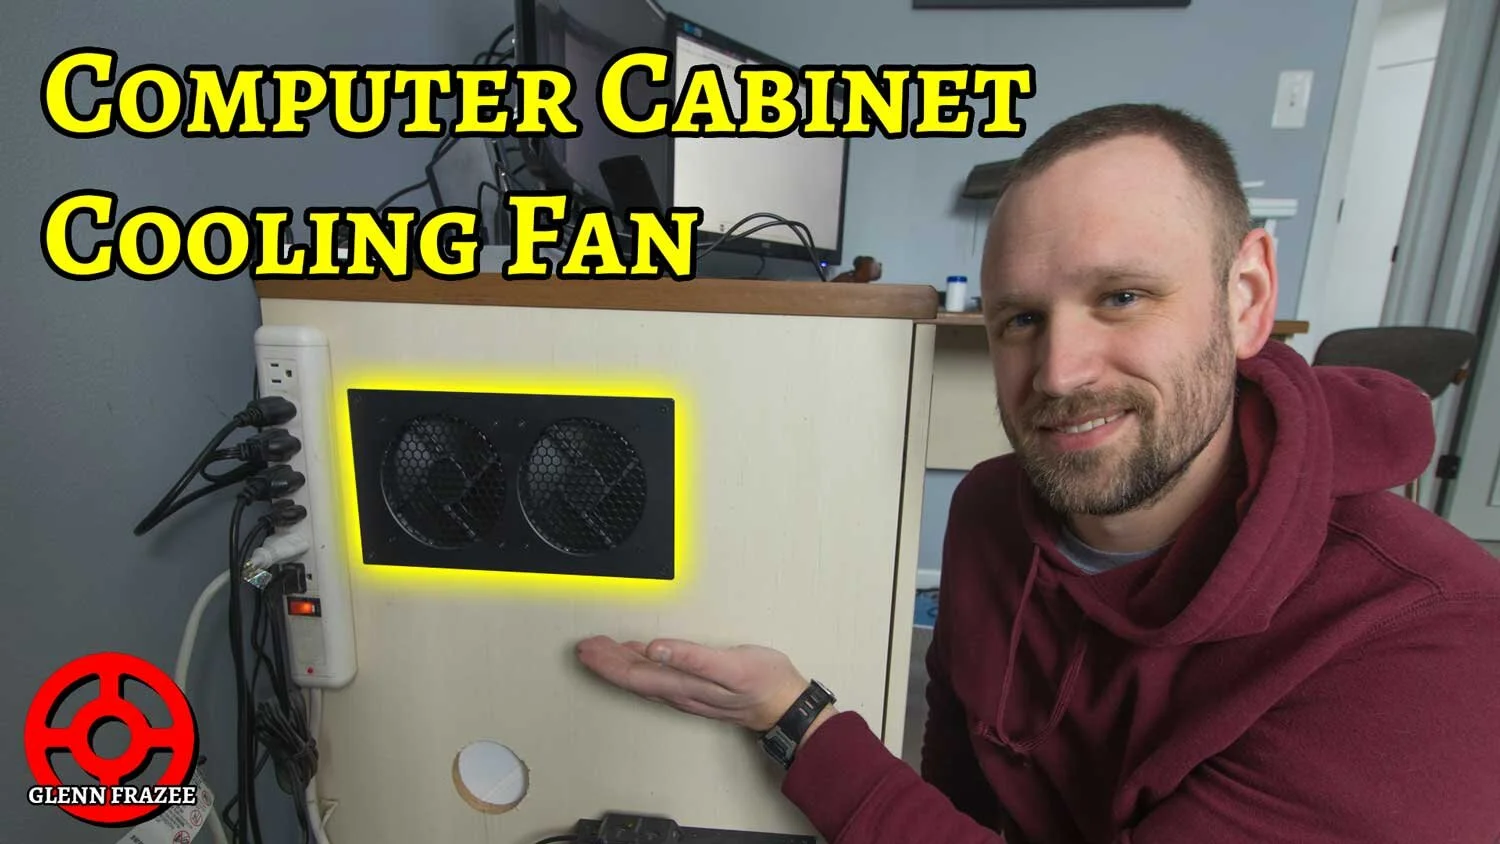
Computer Cabinet Cooling Fan
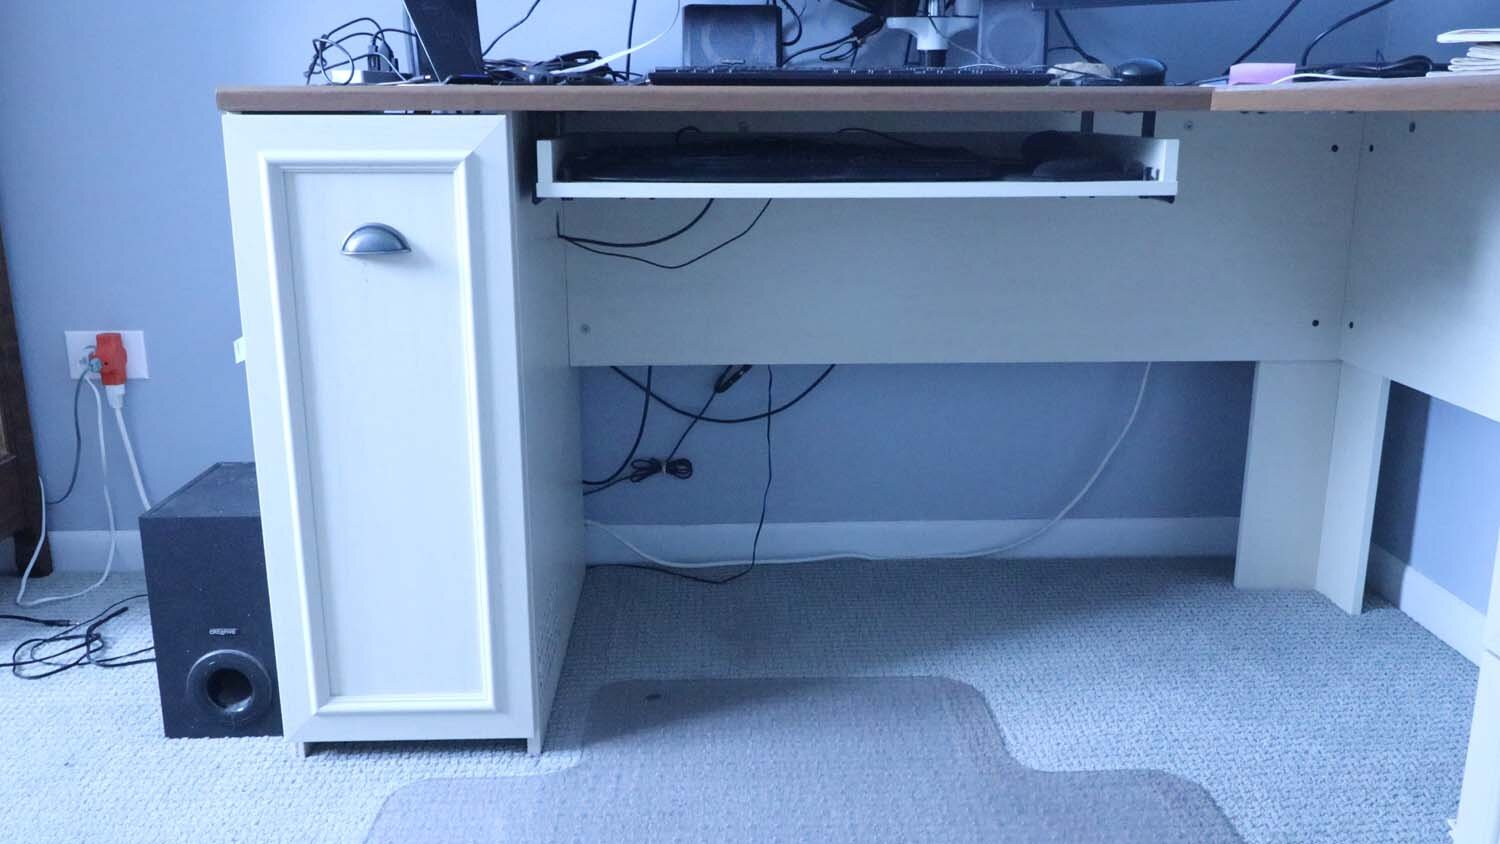
Most premade computer desks have a cabinet for the computer, which is little more than a poorly ventilated box. This is terrible for your computer, so most desk manufacturers tell you to leave the door open when the computer is in use. If you're like me, you probably have your computer on all day and you don't like the look with the door open. Adding a cabinet fan to exhaust the hot air from inside is a great solution to this problem, and it doesn't take much time at all.
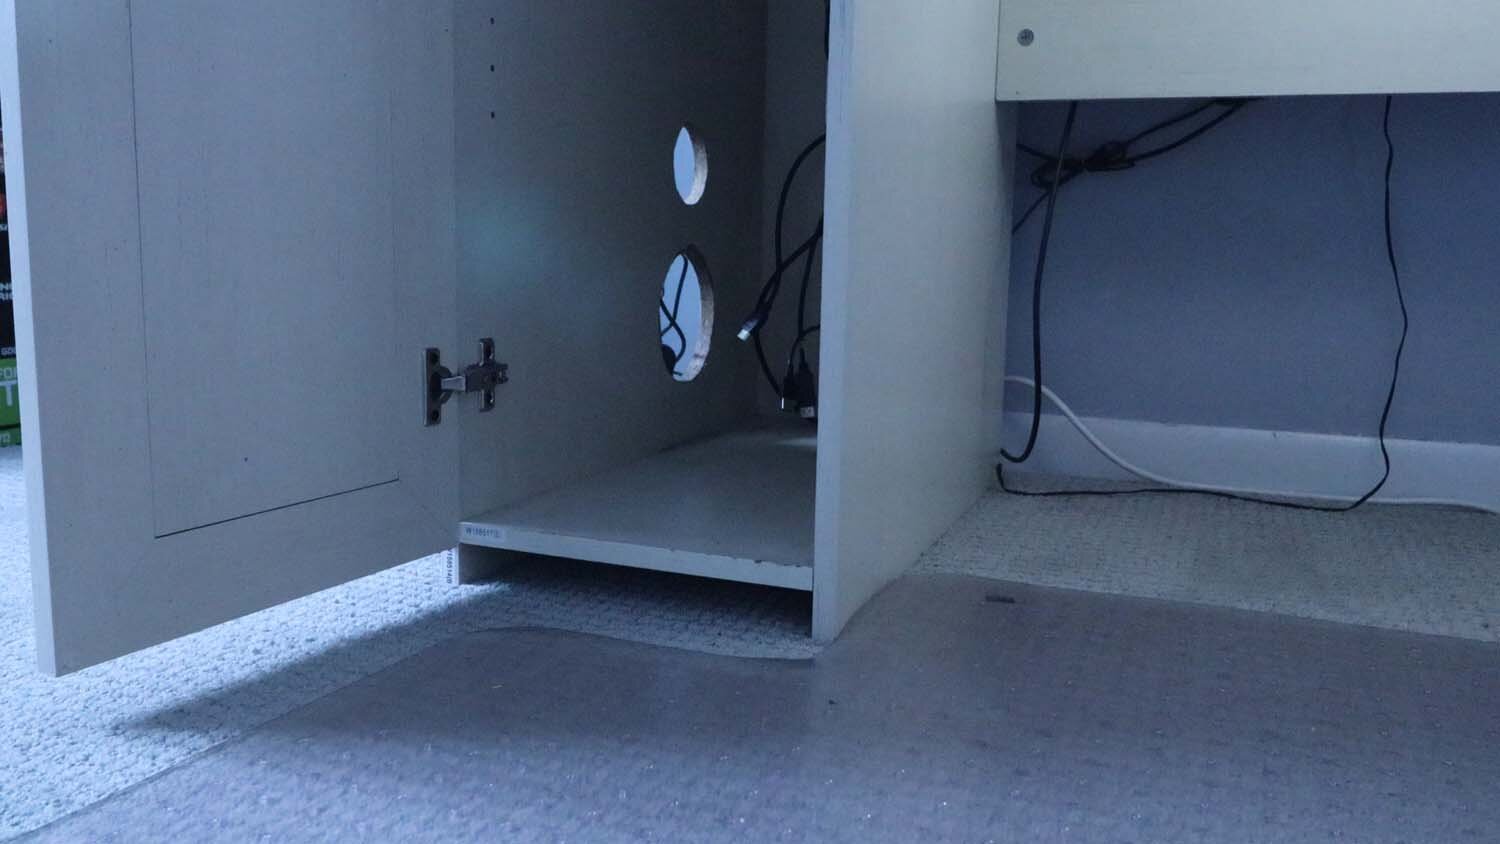
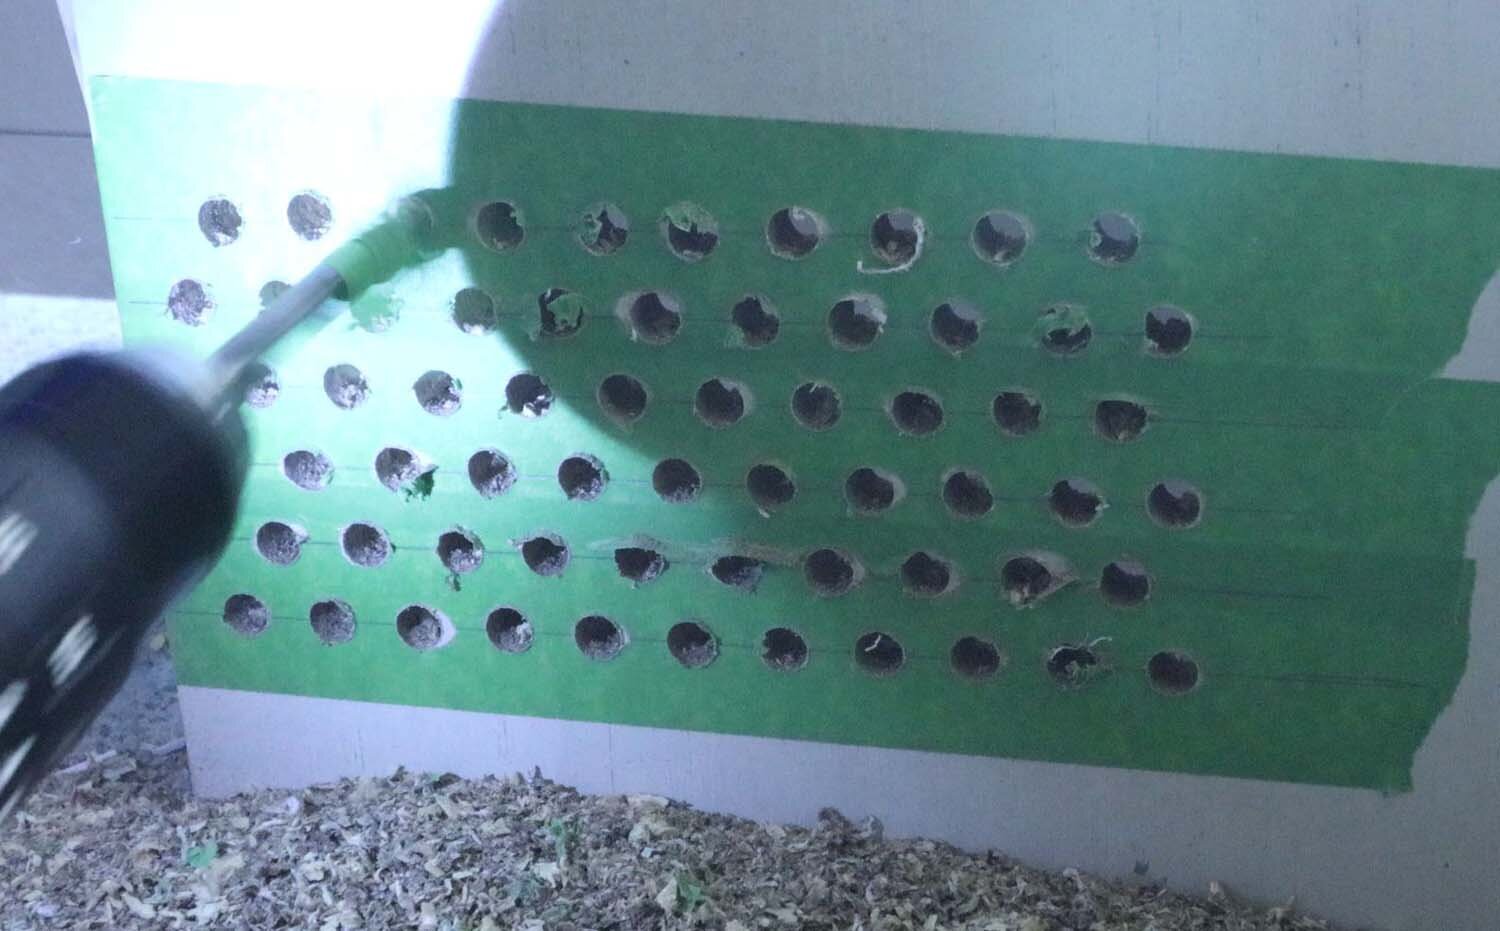
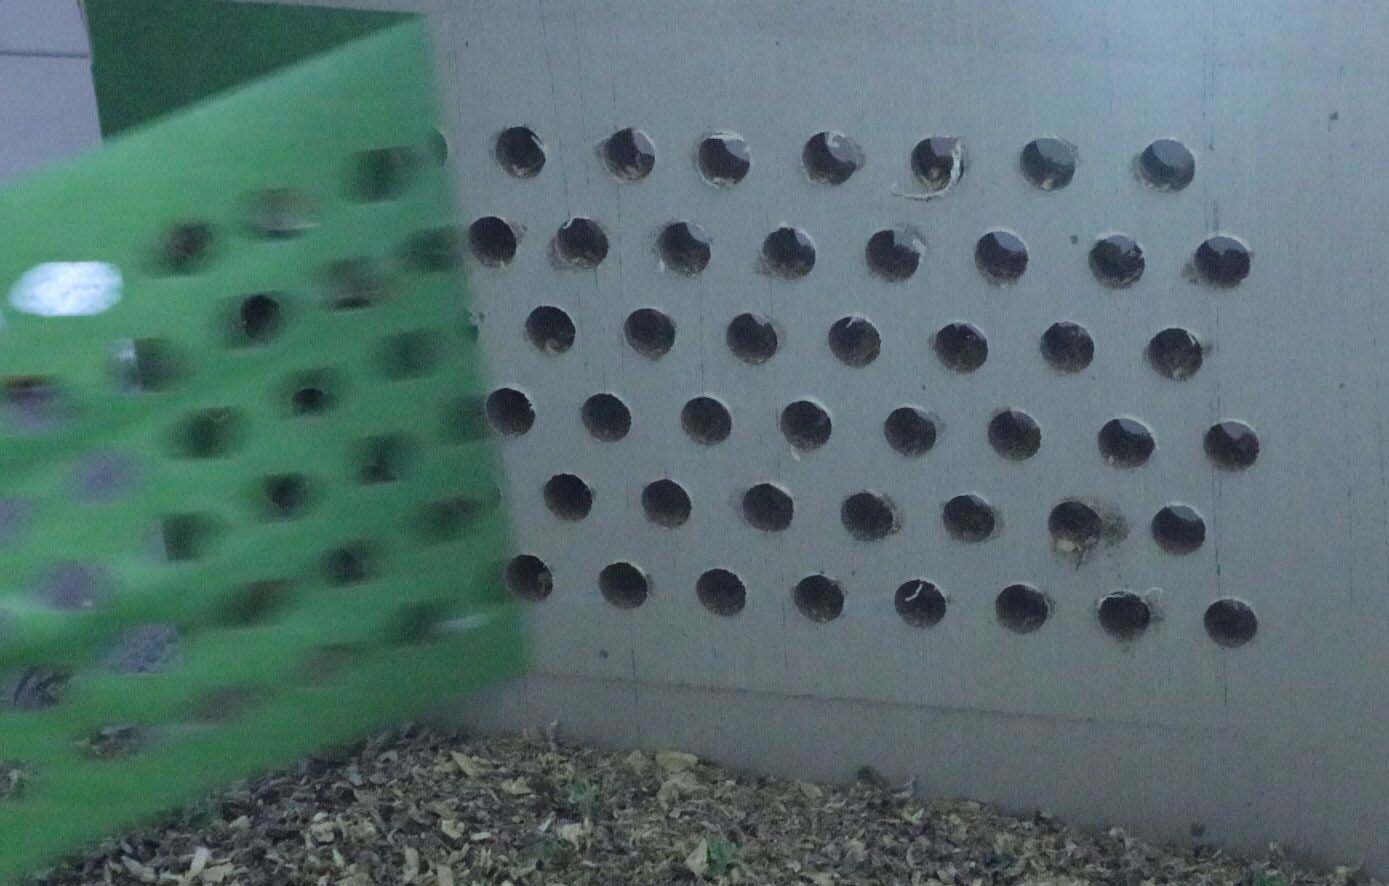
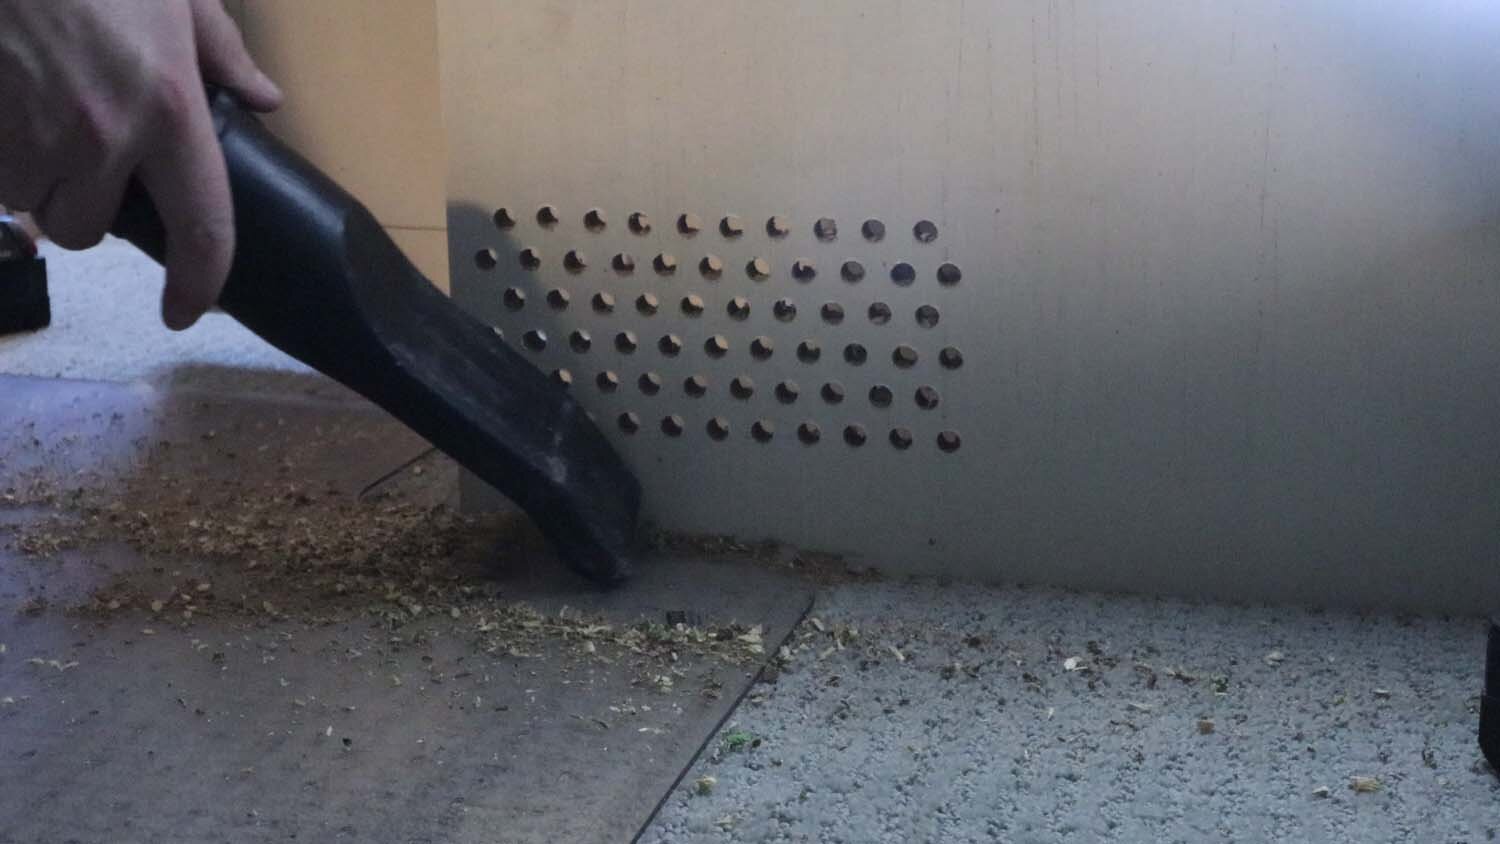
To provide for good airflow, I'm drilling a series of vent holes on the bottom of the cabinet, on the opposite side from where I'll put the fan. This way, cool air will be drawn into the bottom of the cabinet, circulate within the PC case, and then the hot exhaust air will rise to the top of the cabinet to be expelled by the new ventilation fan.

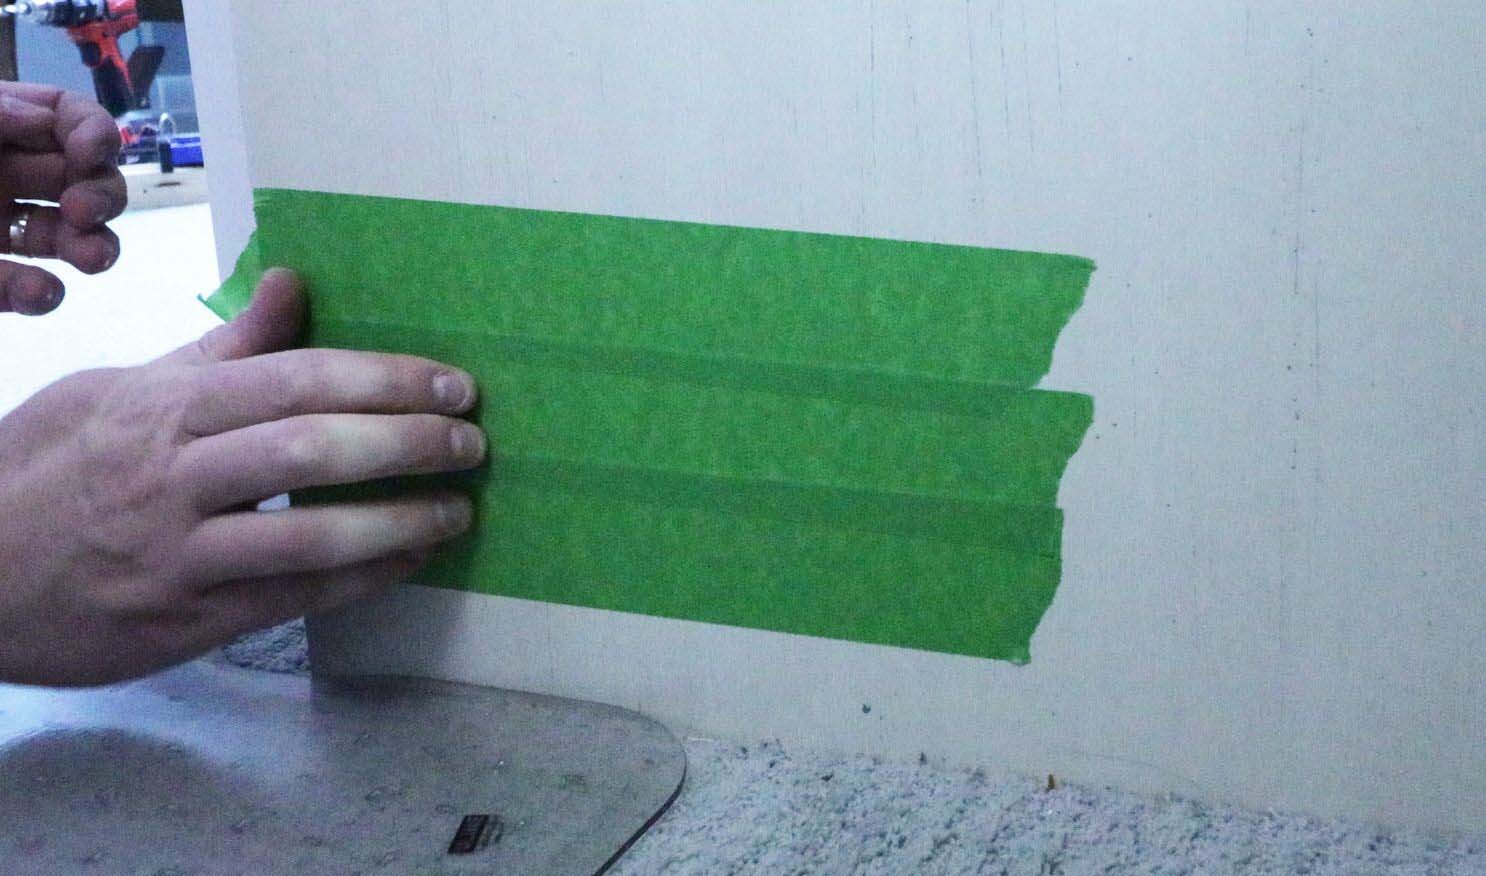
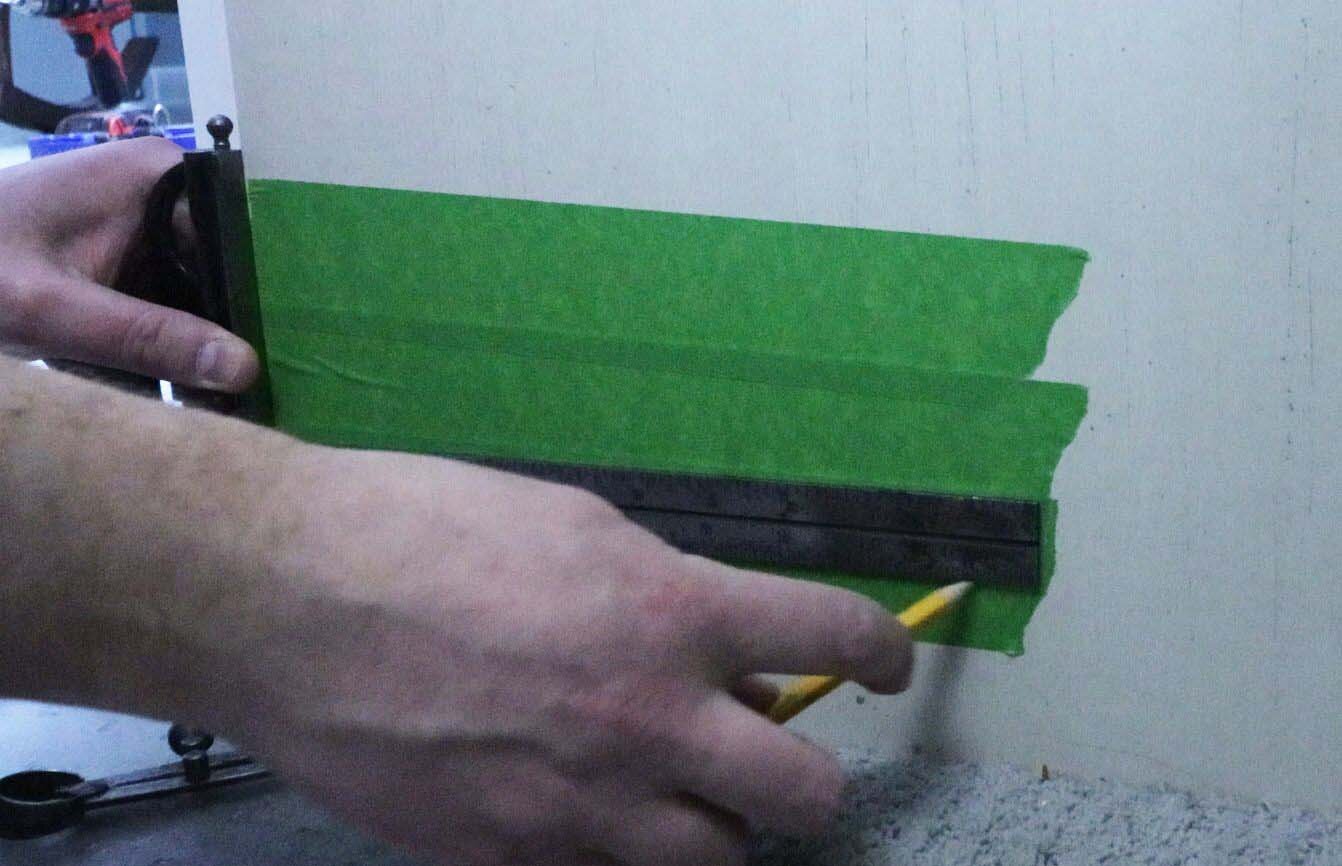
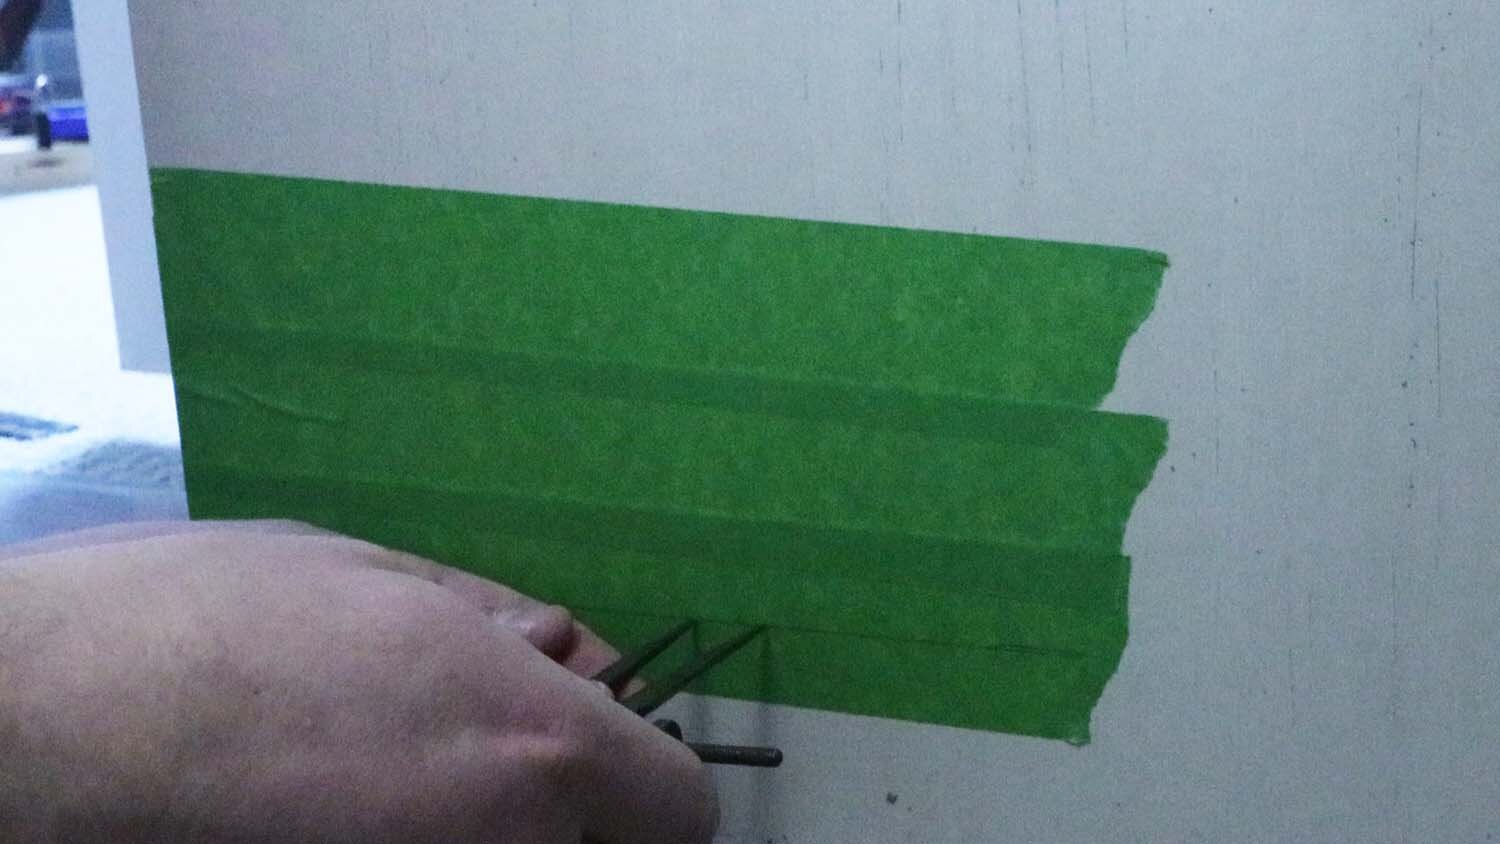
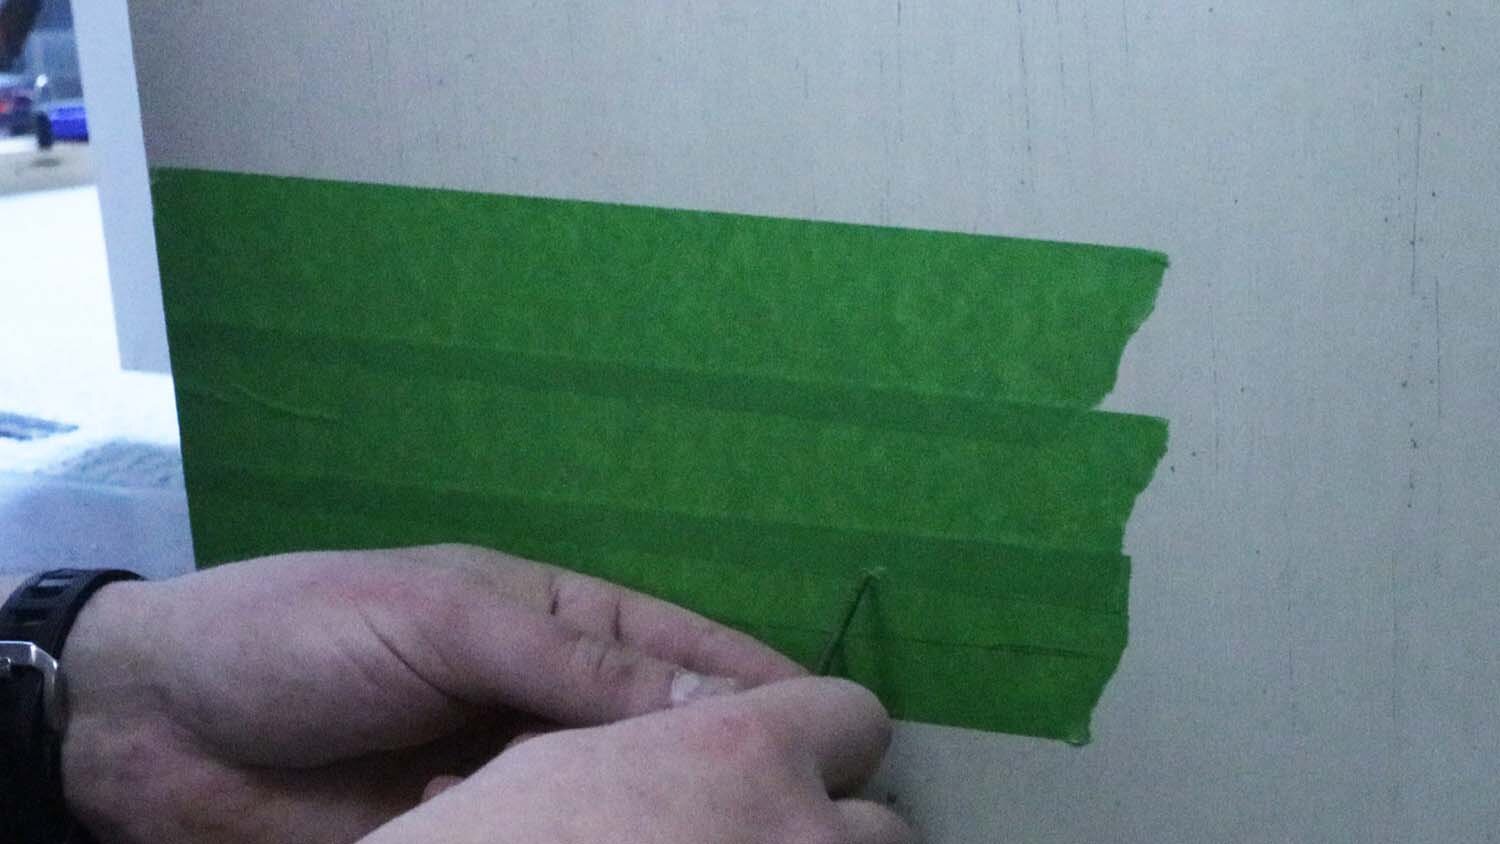
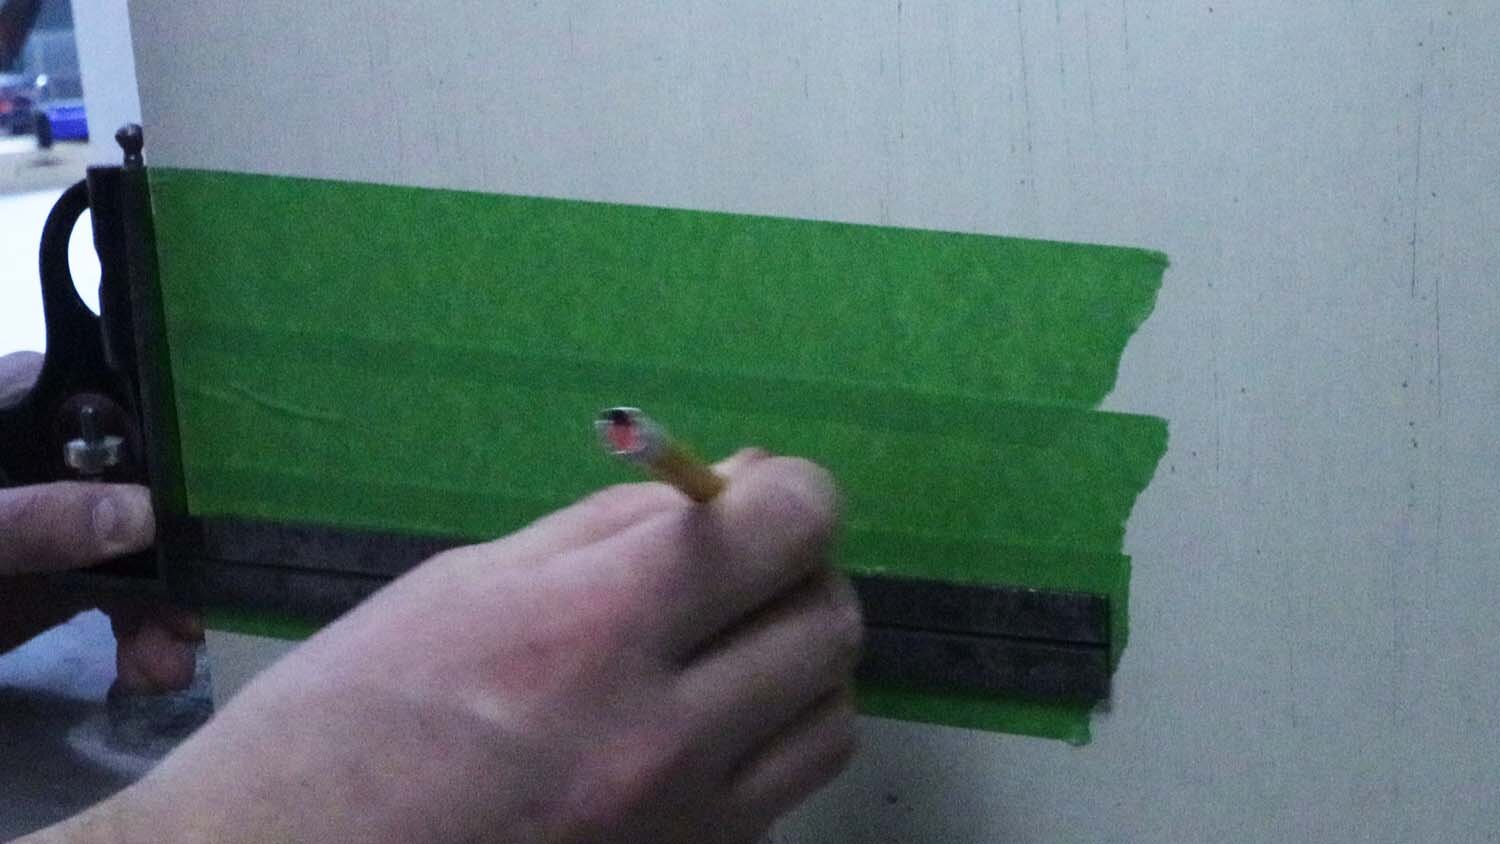
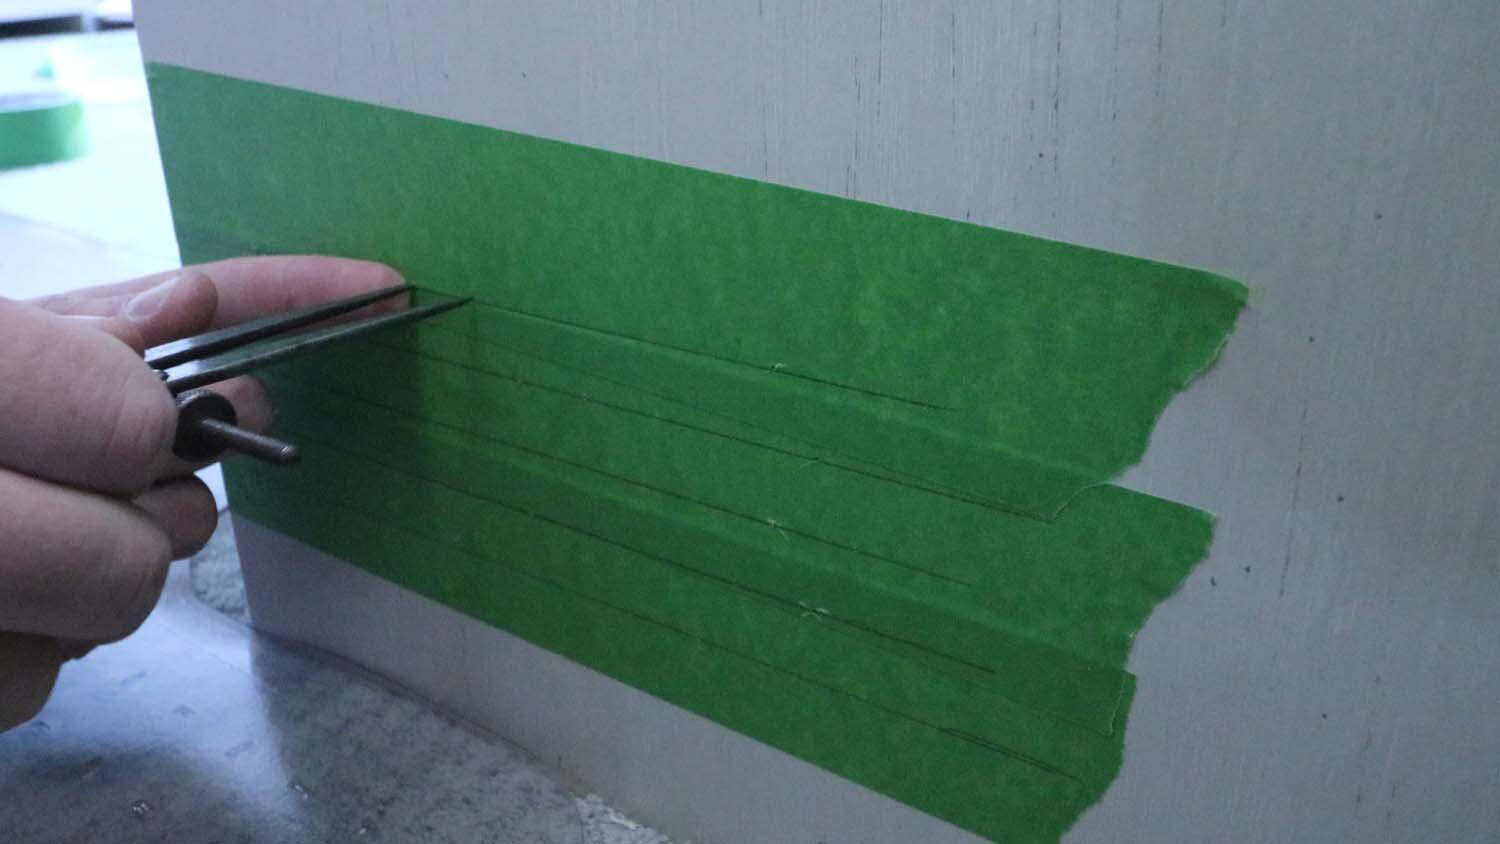
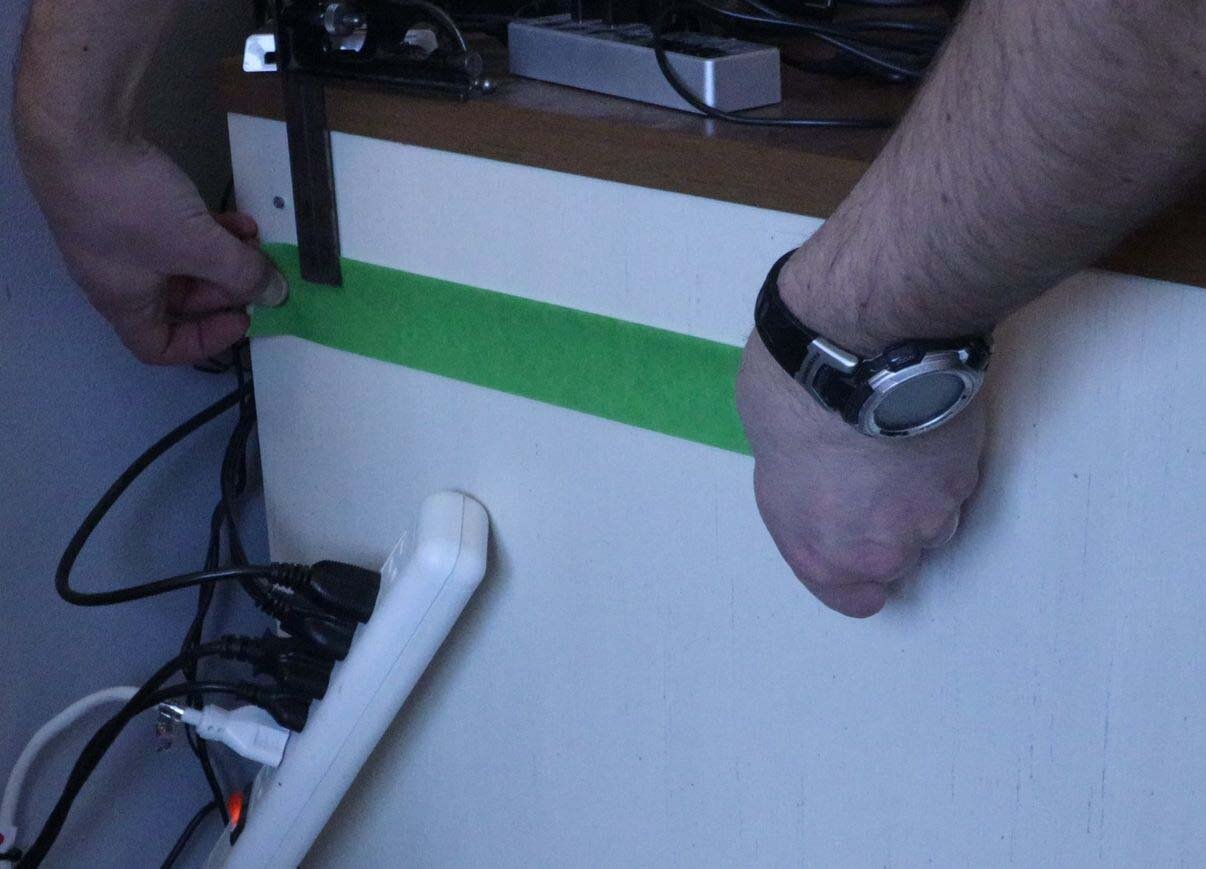
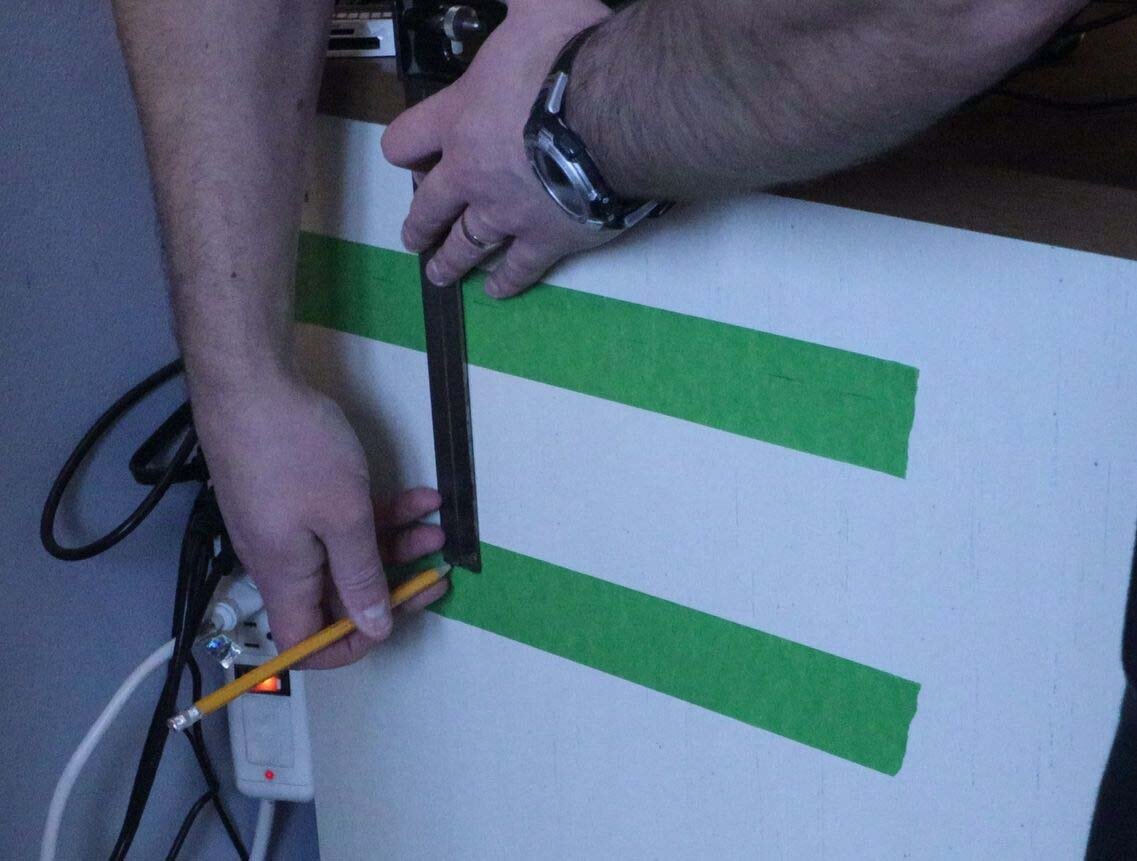
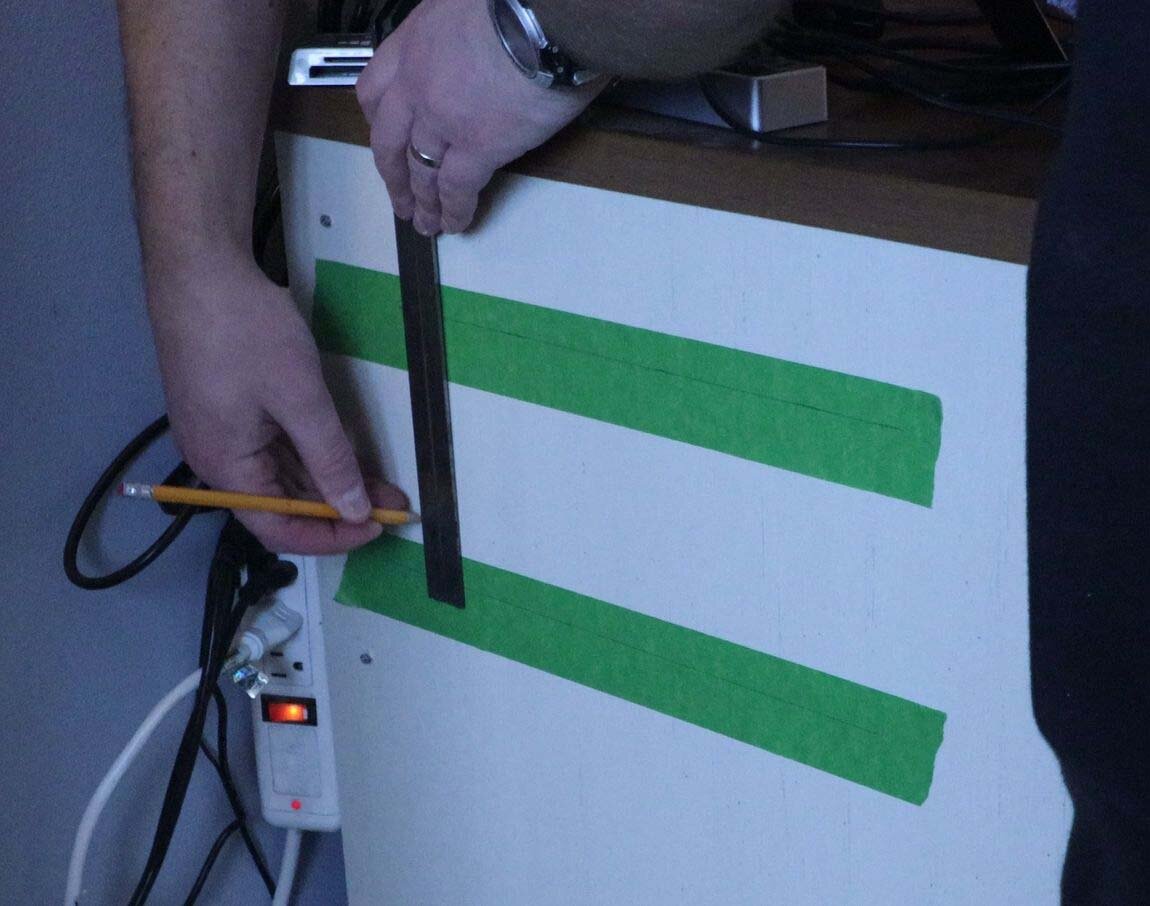
To make the marks easy to see, and so I don't get pencil all over the cabinet, I mask the area off with tape. I then establish a baseline for the bottom row of holes, and will work up from there. These holes will be 3/8" (9.5mm) diameter, spaced at 3/4" (19mm) in a hexagonal grid. I step these off with a dividers for consistent spacing. At the ends, I swing an arc from the two end points, like what you would've done in high school Geometry class to draw an equilateral triangle. This intersection becomes the baseline for the next row up, and so forth.
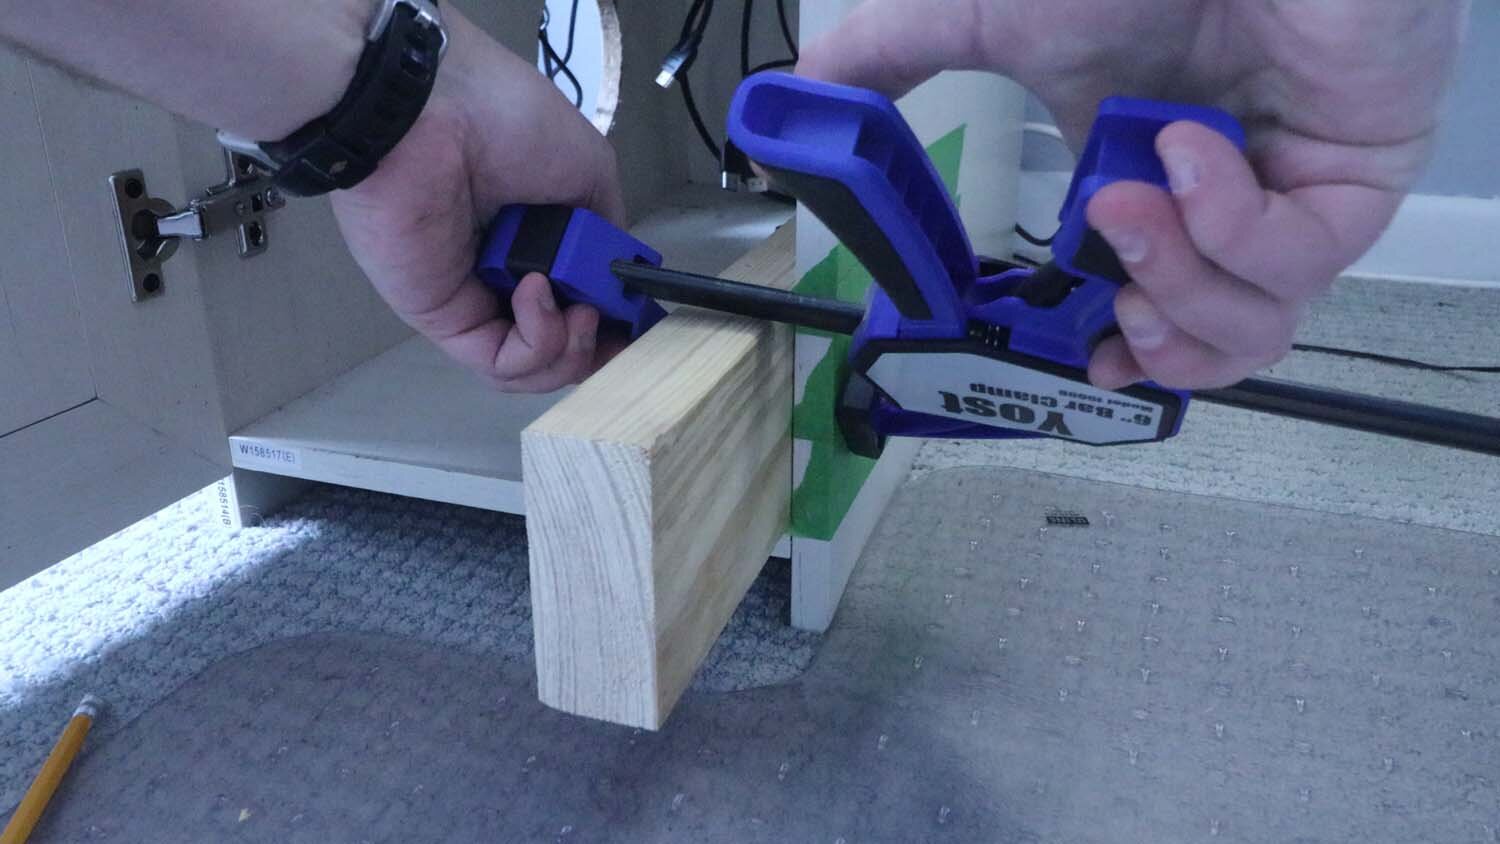
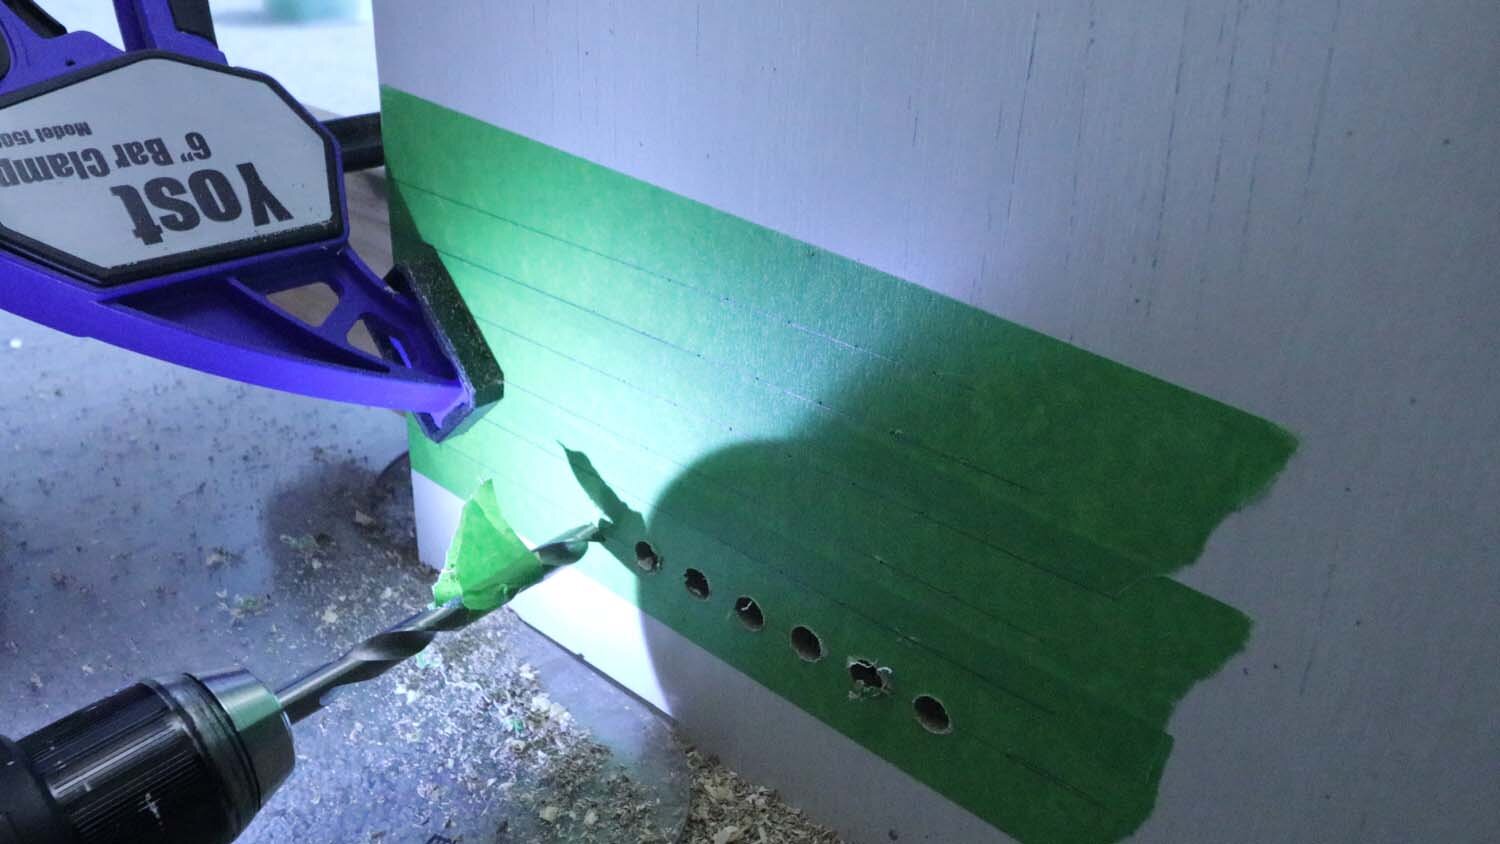
With the holes marked out, I clamp a backer board to the side panel of the cabinet to help with chip out on the hole exit. After that, it's just a matter of drilling out all the holes.
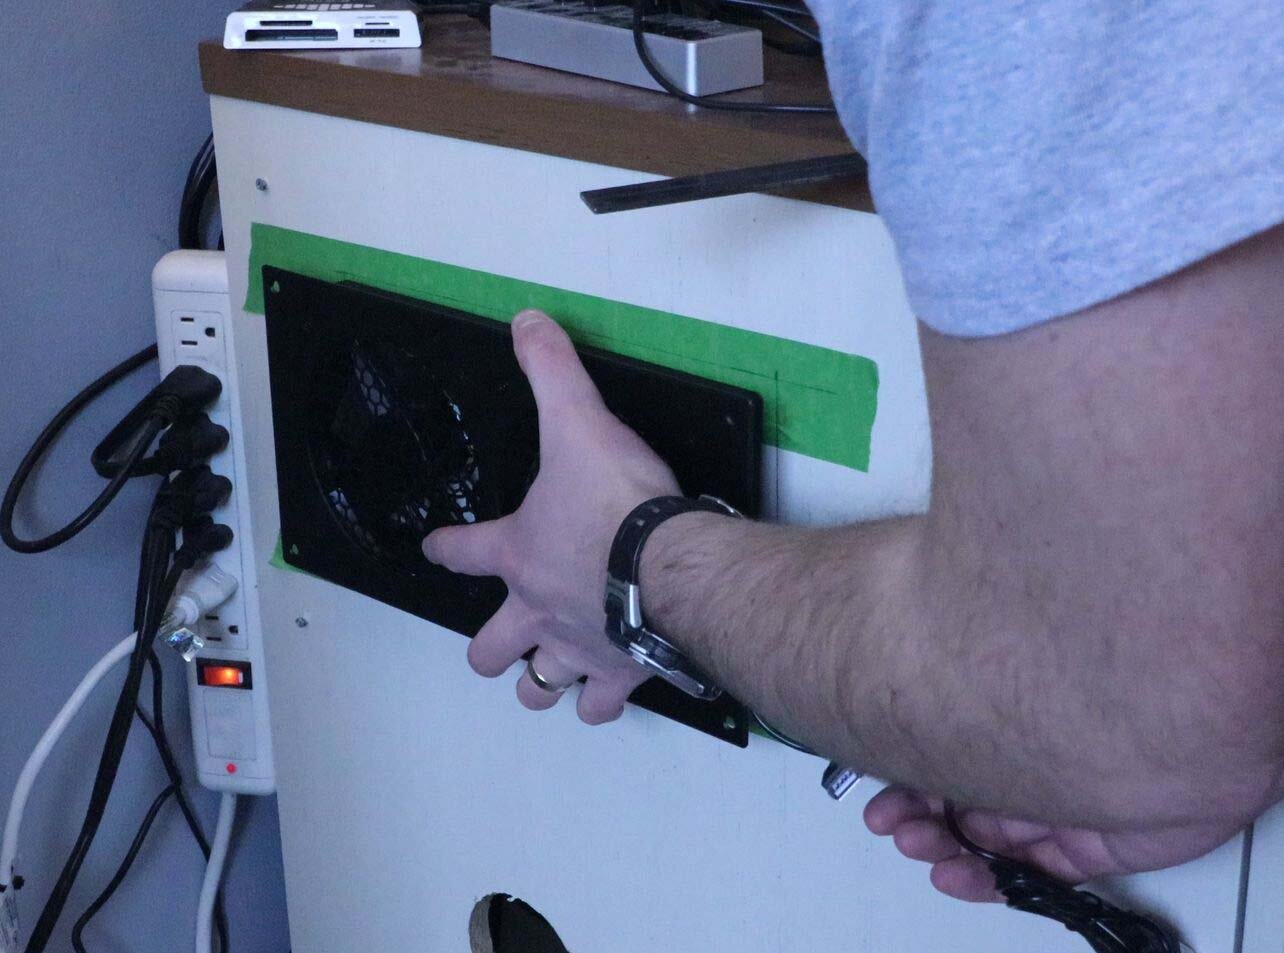
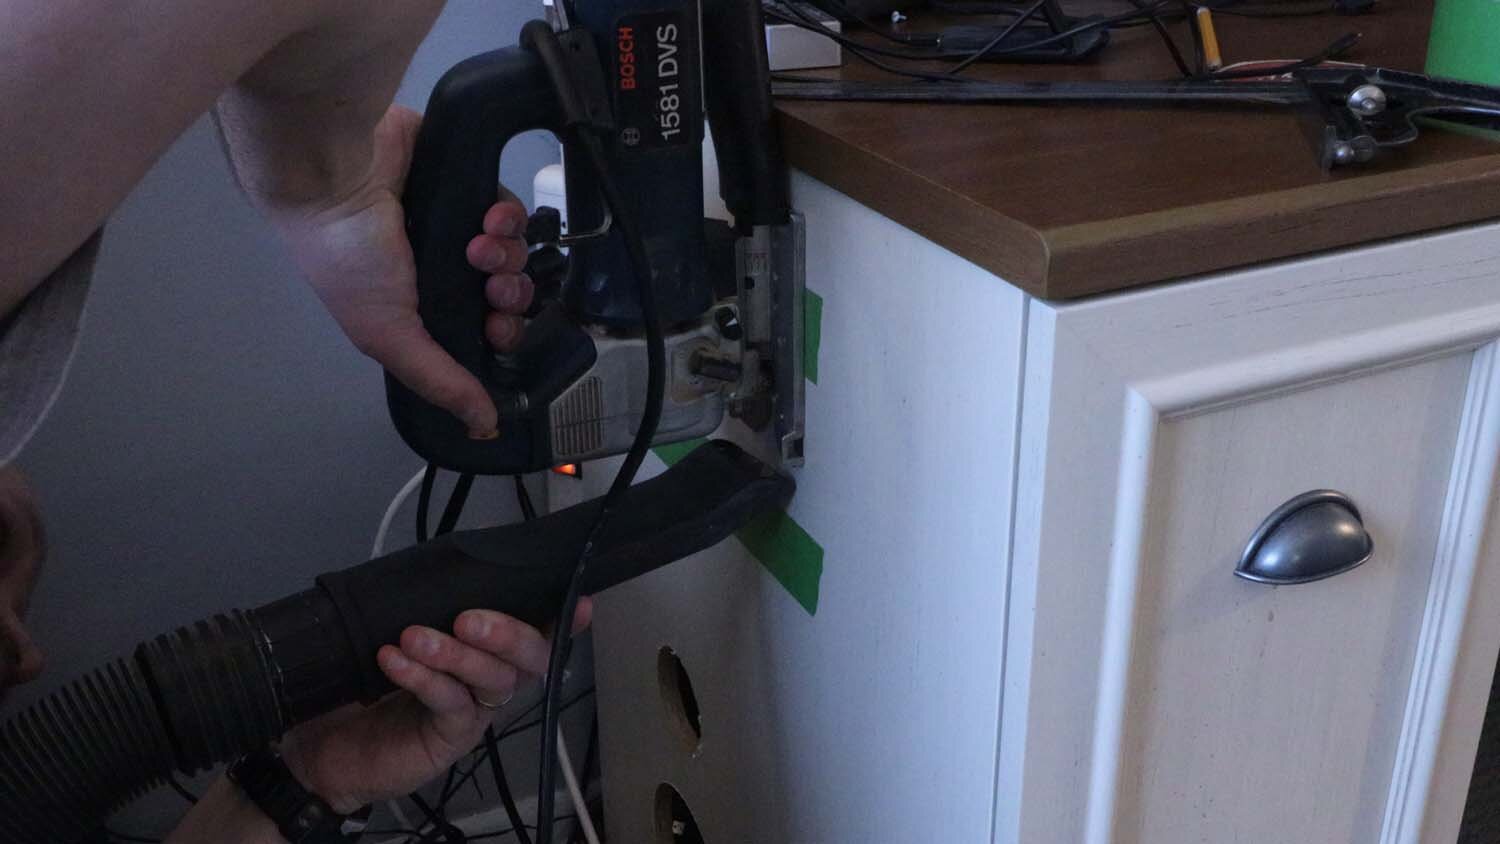
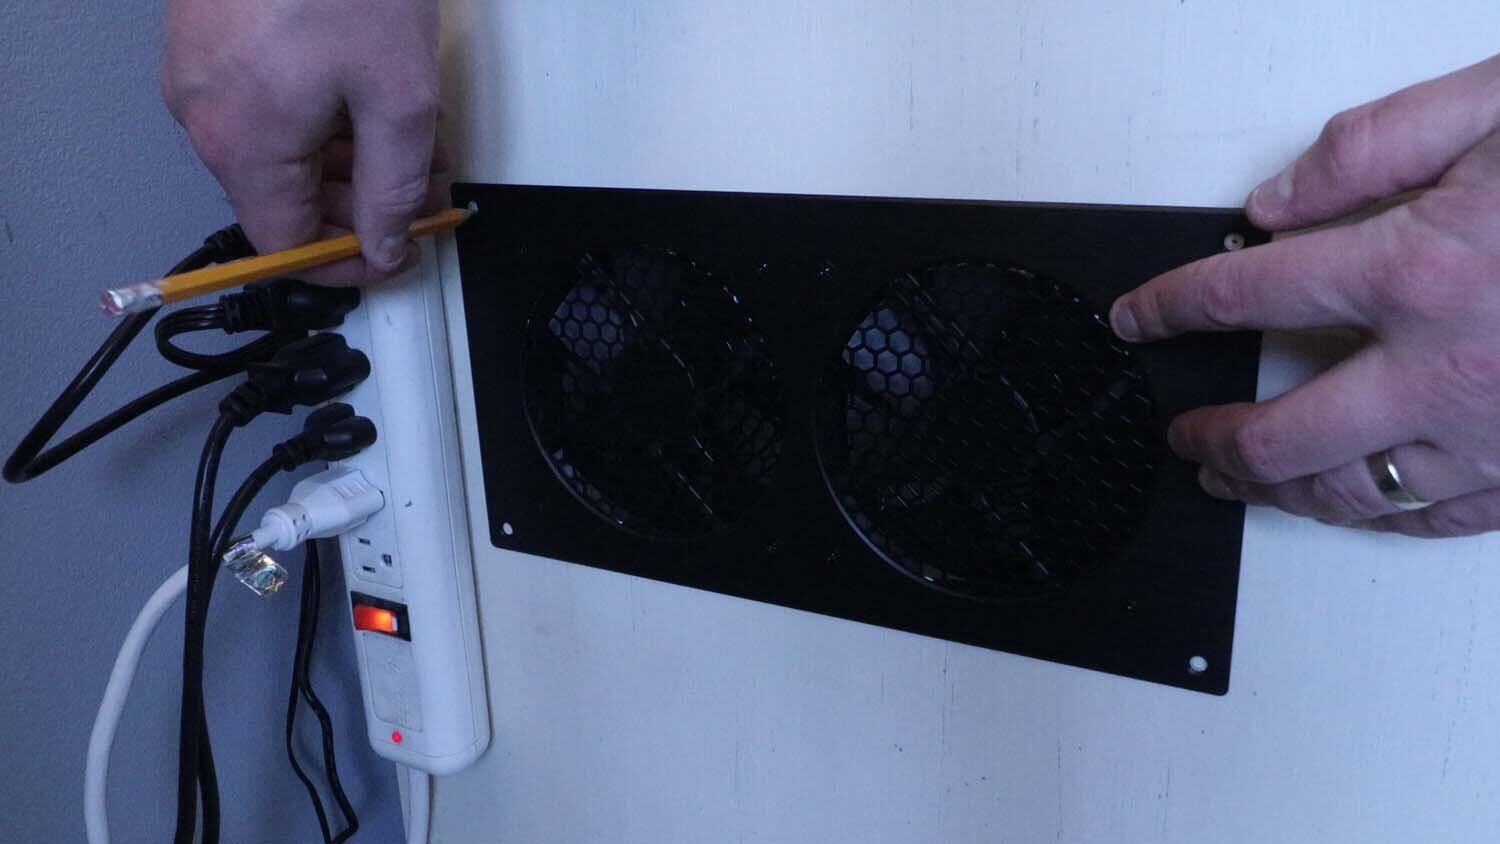
Now is time to cut the hole for the ventilation fan. I marked this out using masking tape and a combination square, then did and idiot check against the fan body to make sure I had it correct.
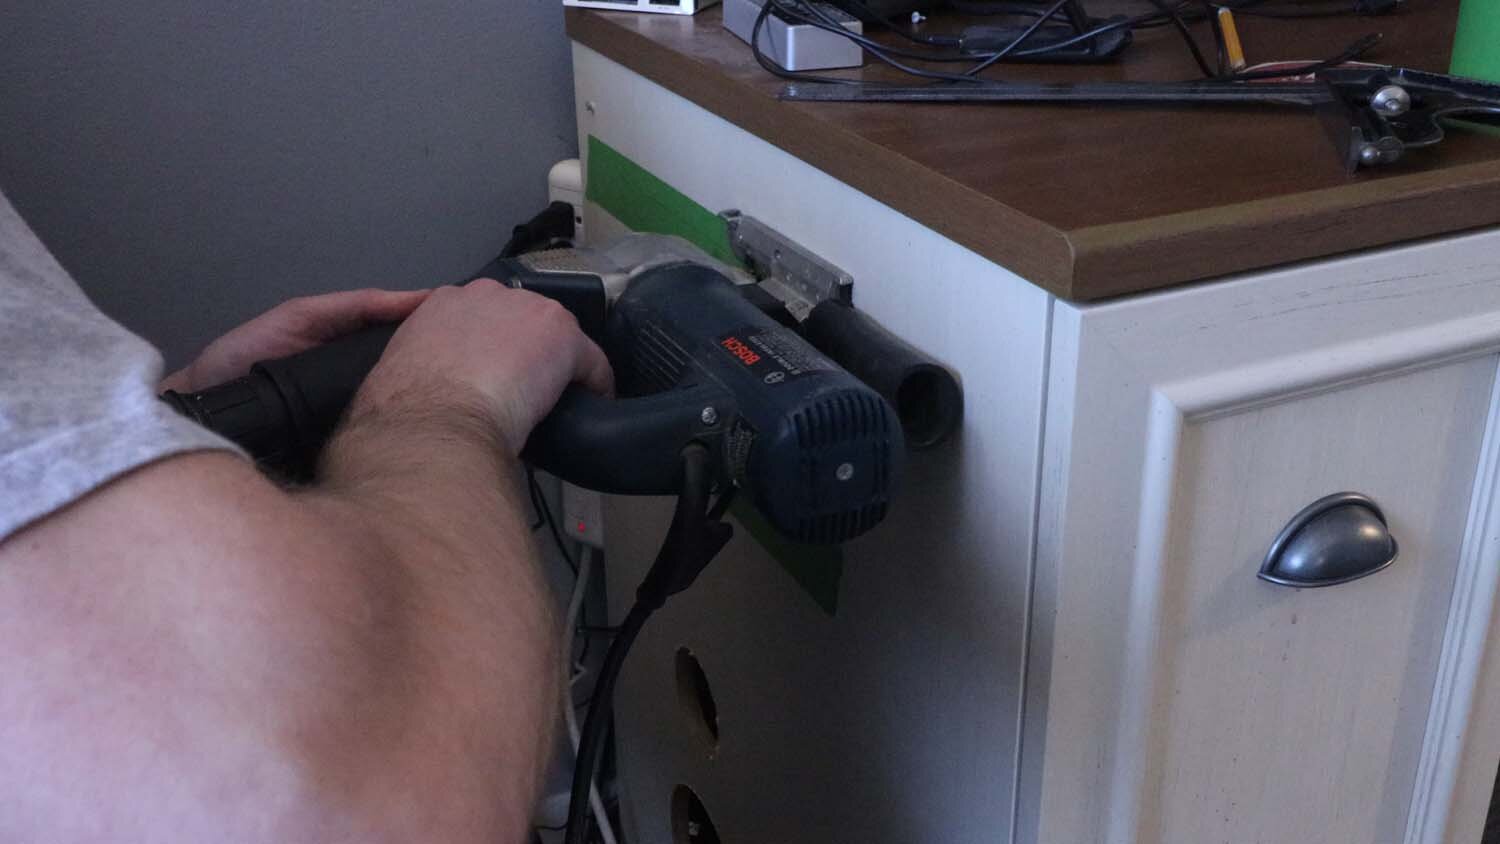
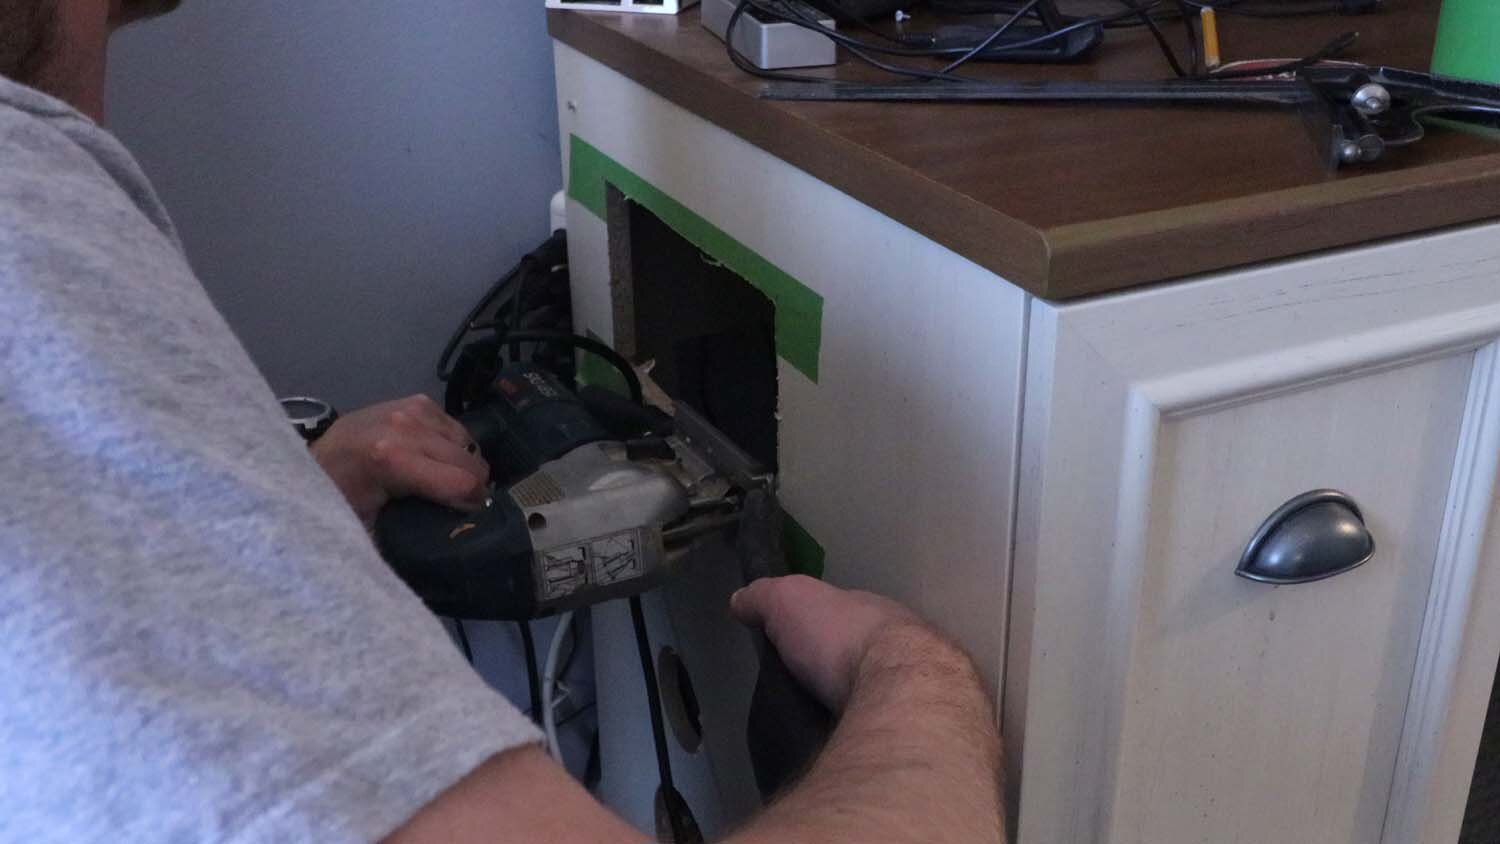
After that, I drilled a couple starter holes in the corners of the opening for my jigsaw blade and cut out the waste.

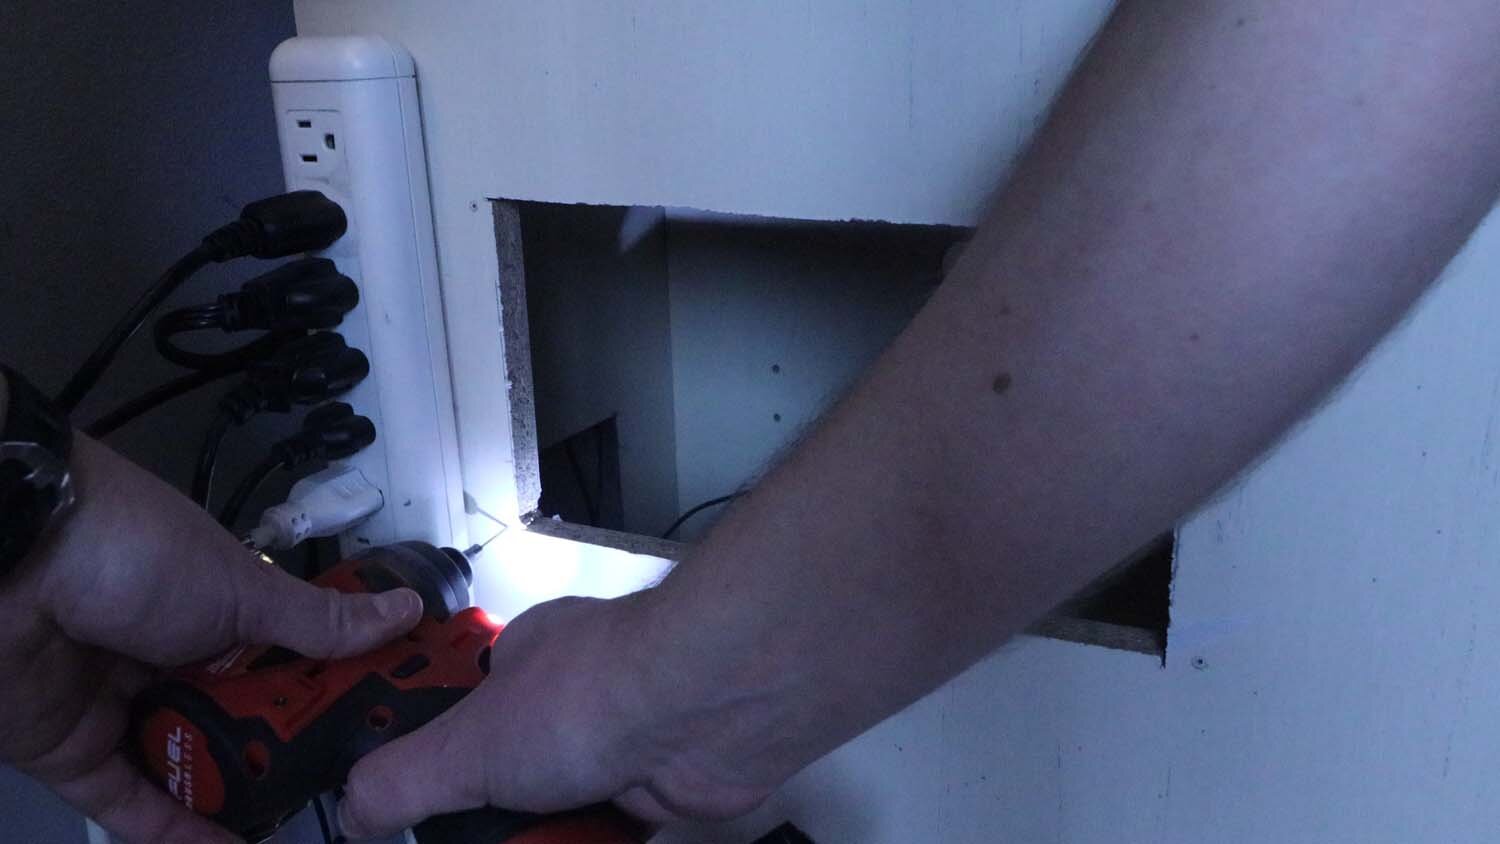
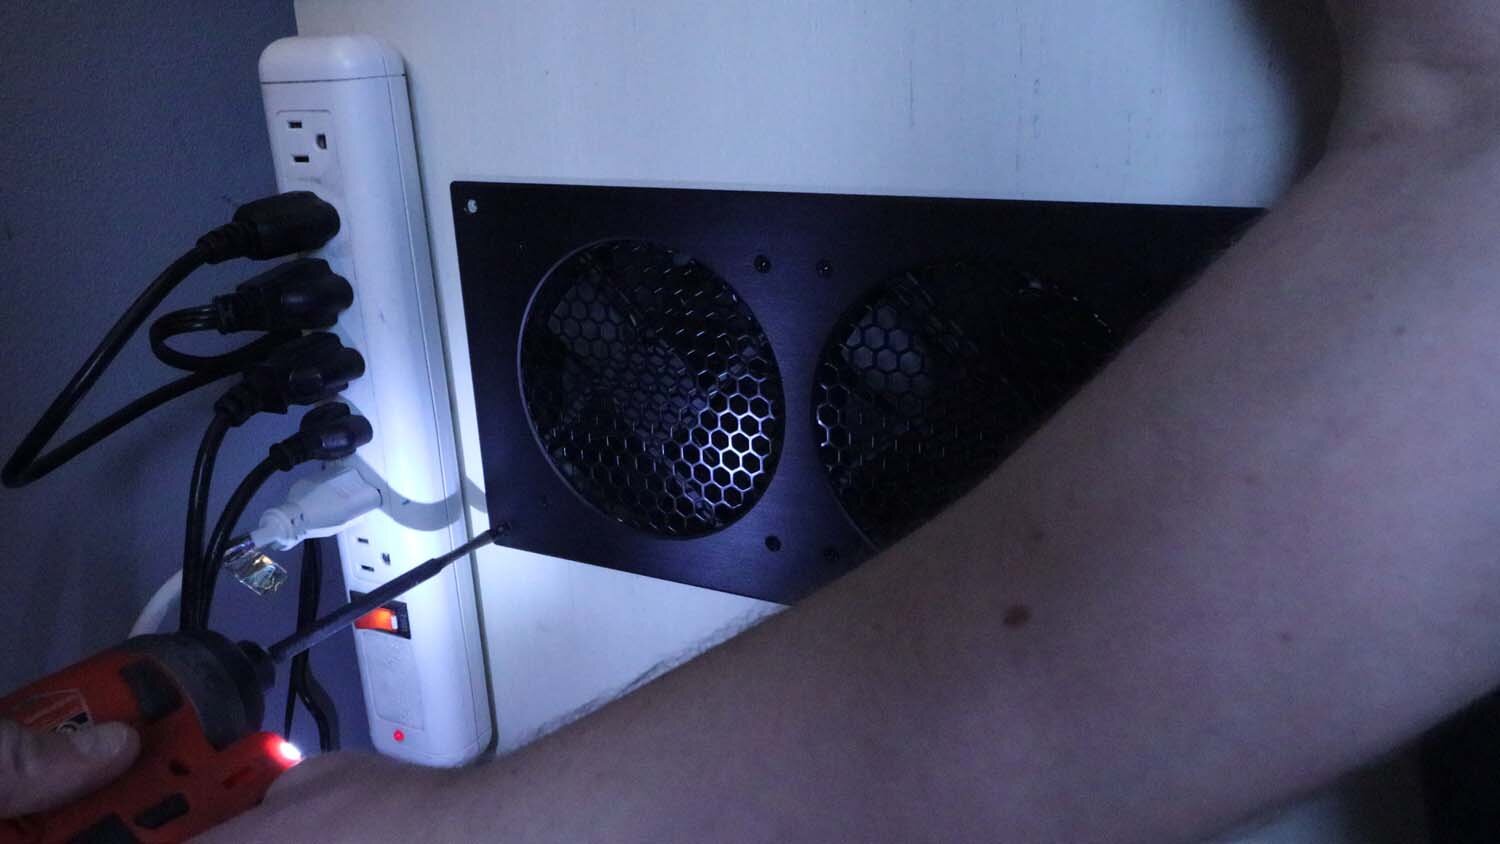
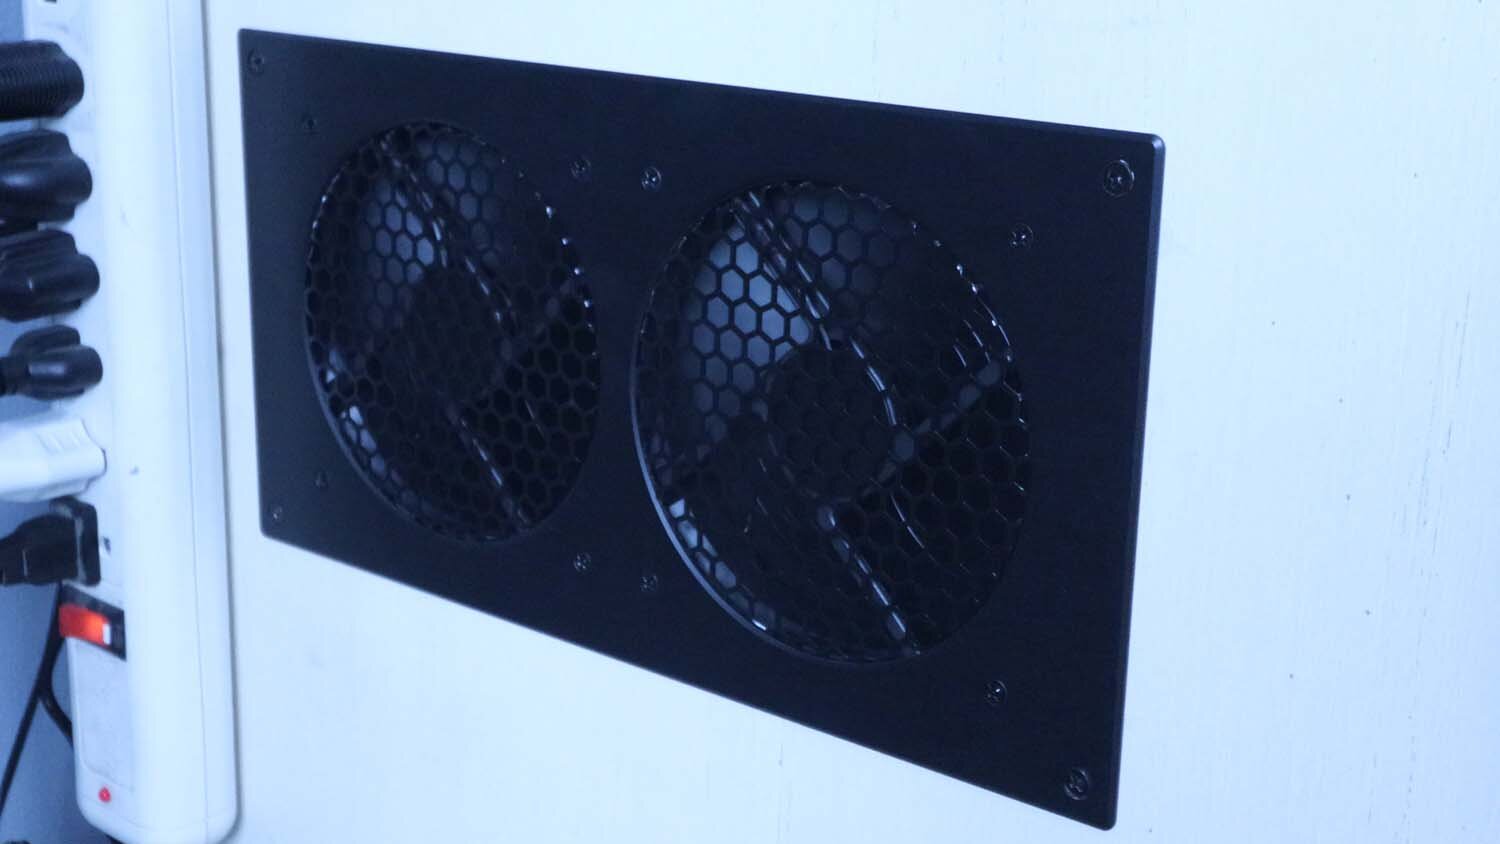
With the hole cut, I put the fan body in and marked for the corner screws. I then predrilled for them, and screwed them in to fasten the fan to the cabinet.
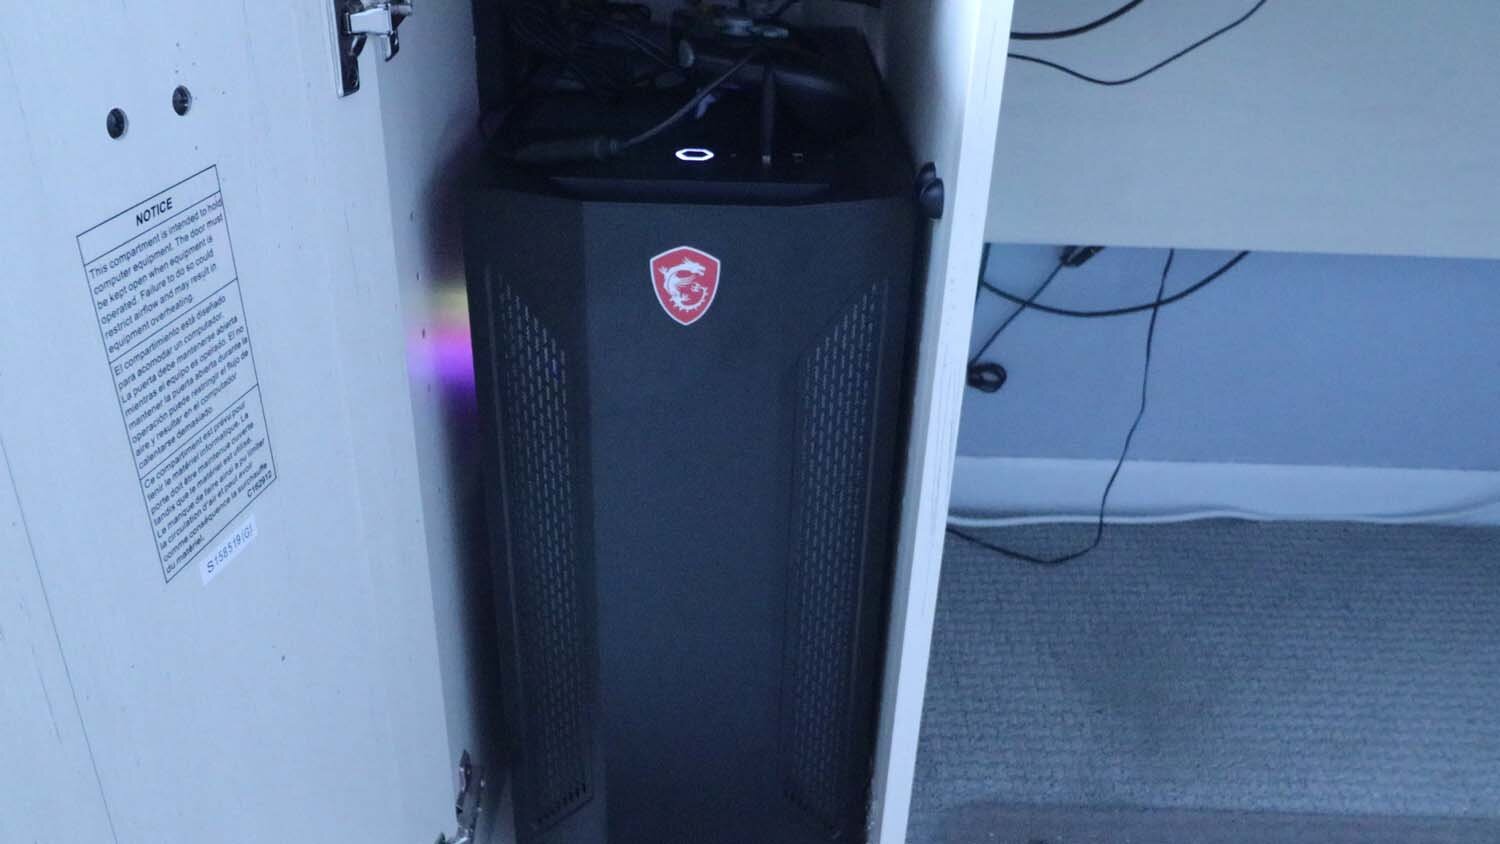
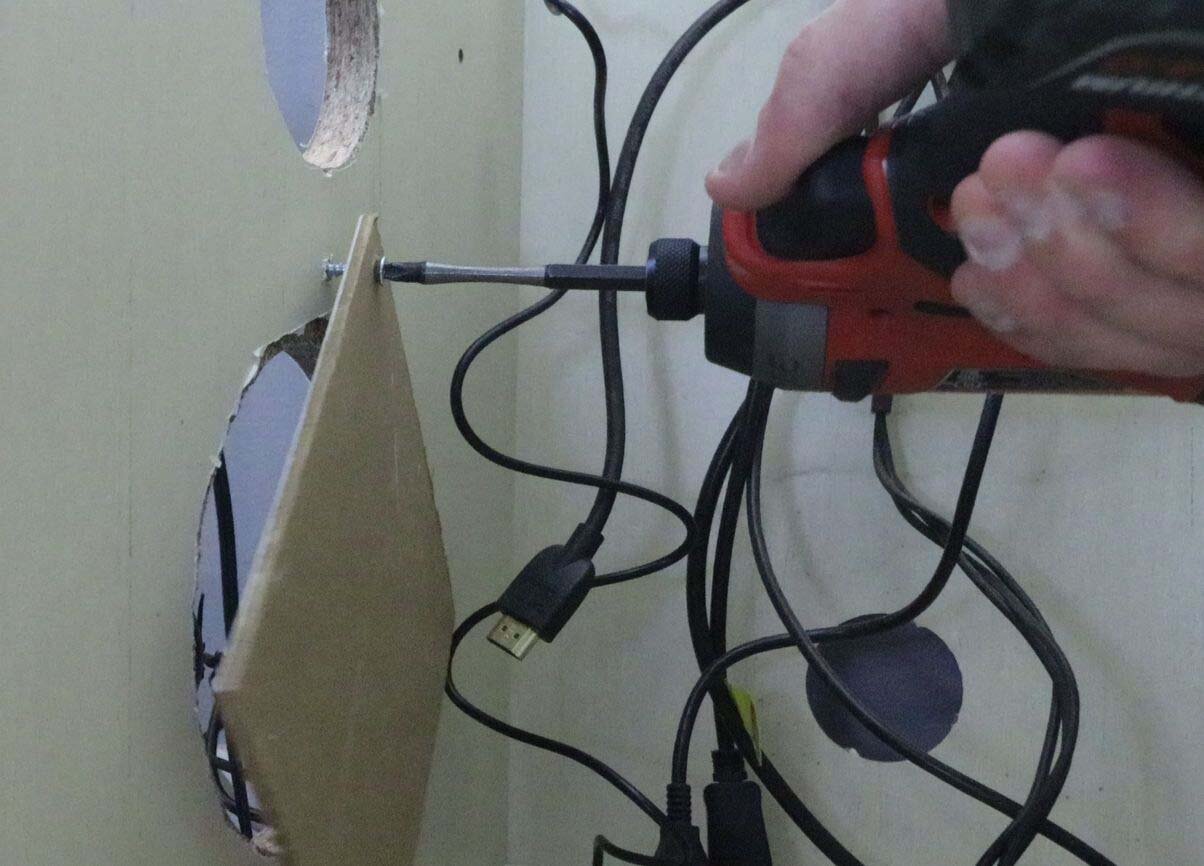
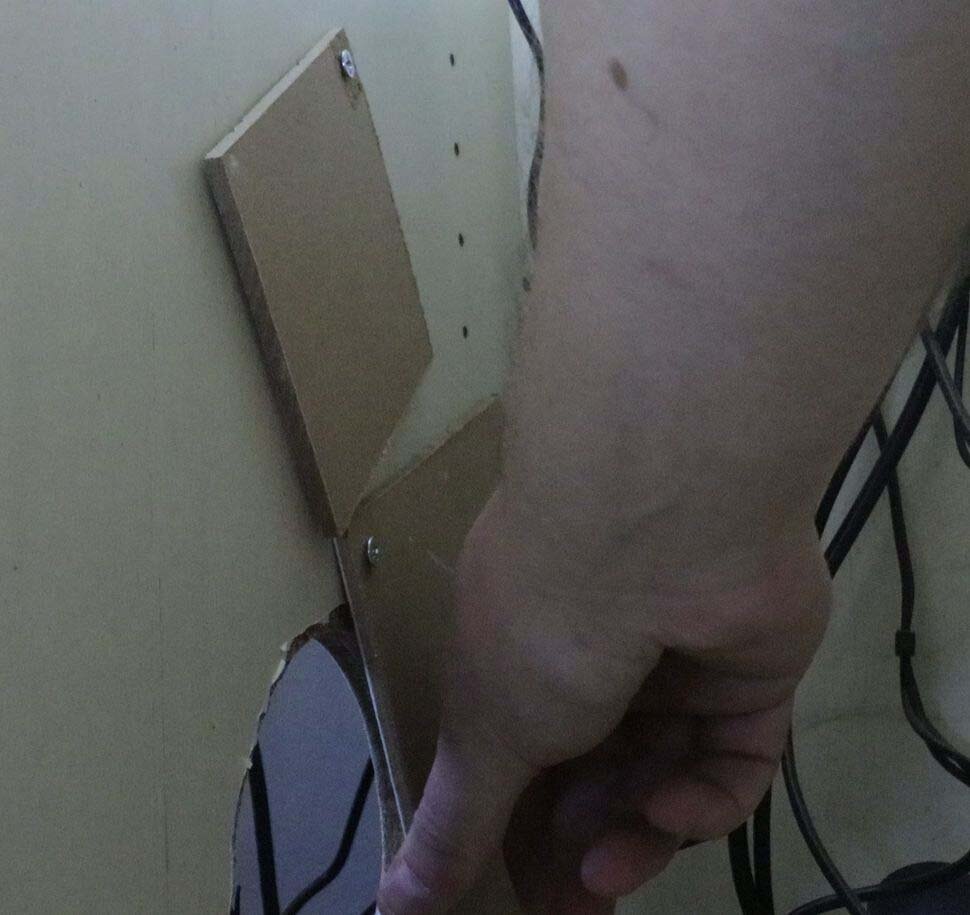
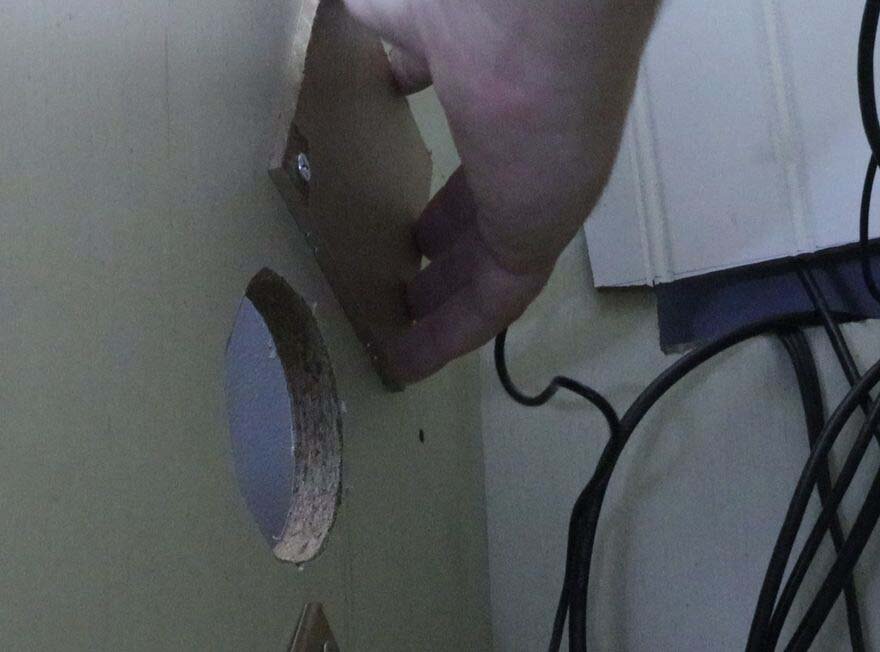
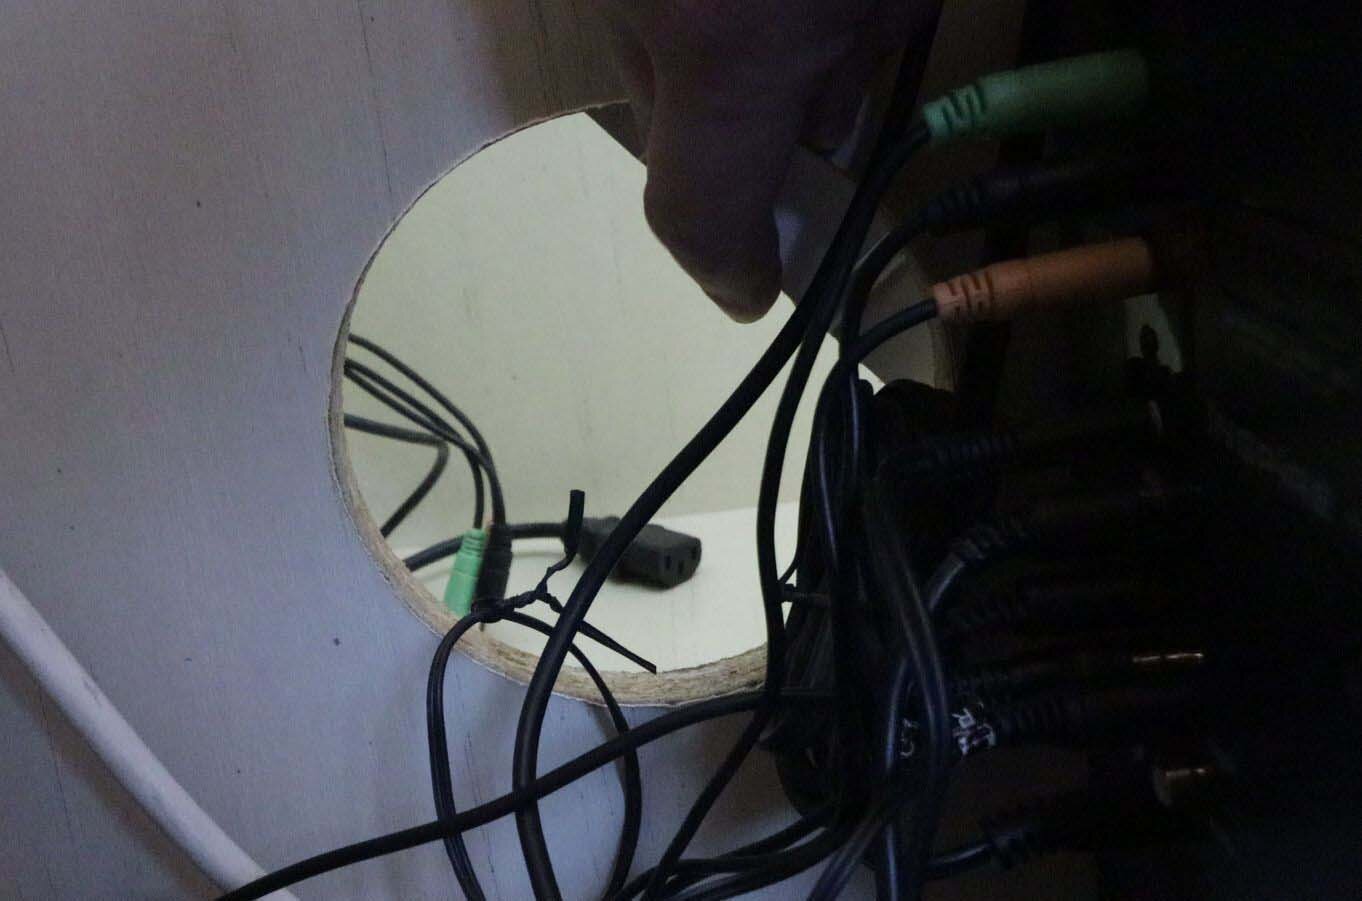
I had previously cut some holes in the side of this cabinet that line up with my old PC case, and which also allow me to stick my hand inside the cabinet and hook up wires to my computer. Since I don't want air short-circuiting from these holes to the ventilation fan, I'm sealing these off with some scrap pieces of beadboard. I only attach one screw to these so that they can pivot out of the way, allowing me to reach my hand in.
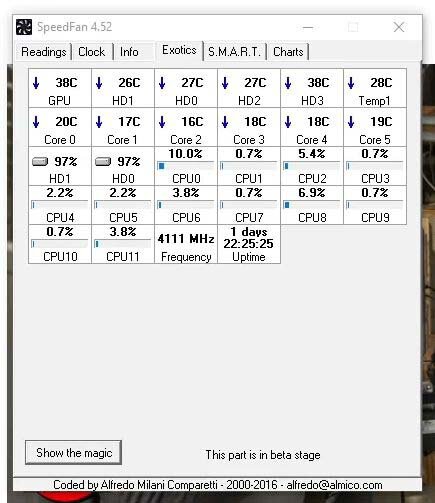
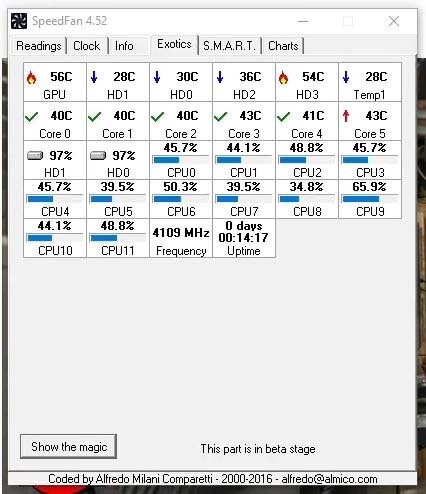
At this point, the installation is complete. Below are two screenshots of the temperatures inside my PC, one at no load, and one after 30 minutes of gaming with the door closed. The PC components are hotter, as expected, but the inside of the case is cool, as is the exhaust air from the new fan. All in all, I'd say this is a success.
I hope this was instructive, and thanks for viewing!
If you enjoyed this article, subscribe to my YouTube channel for more!
—————————————————————————————
Below is a listing of the supplies you will need. I have supplied Amazon Affiliate links to the products I used. As an Amazon Associate I earn from qualifying purchases.